Setting up SSH Key in Github for Anvil
Instructions
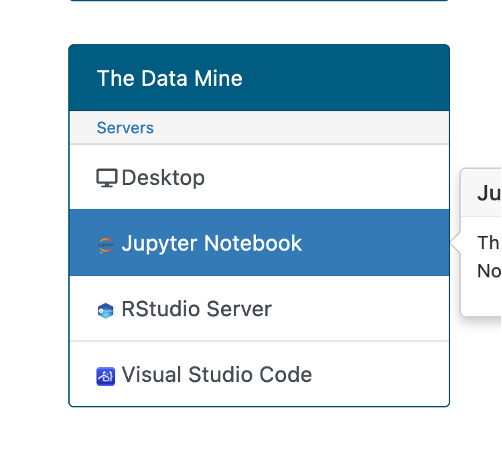
Log in to Anvil, open a Jupyter Notebook session under The Data Mine section, and fill in the appropriate time and CPU cores as shown below.

Copy and paste the following lines of code into your Jupyter Notebook.
ssh-keygen -a 100 -t ed25519 -f ~/.ssh/id_ed25519 -C "My Anvil Key"
chmod 700 ~/.ssh
chmod 600 ~/.ssh/id_ed25519
chmod 644 ~/.ssh/id_ed25519.pub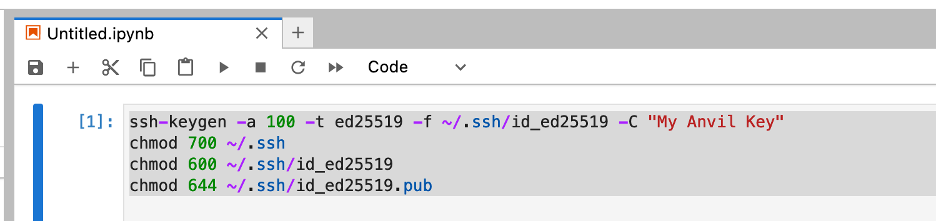
|
If you have already created an SSH key, you will receive an error when running this code. |
Then run the following command to generate the SSH key.
cat ~/.ssh/id_ed25519.pub
Copy this entire output line, and save it to add it to your GitHub account.
Log in to your GitHub account, if you do not have a GitHub account then create one.
Open your settings, by selecting the icon in the upper right hand corner.
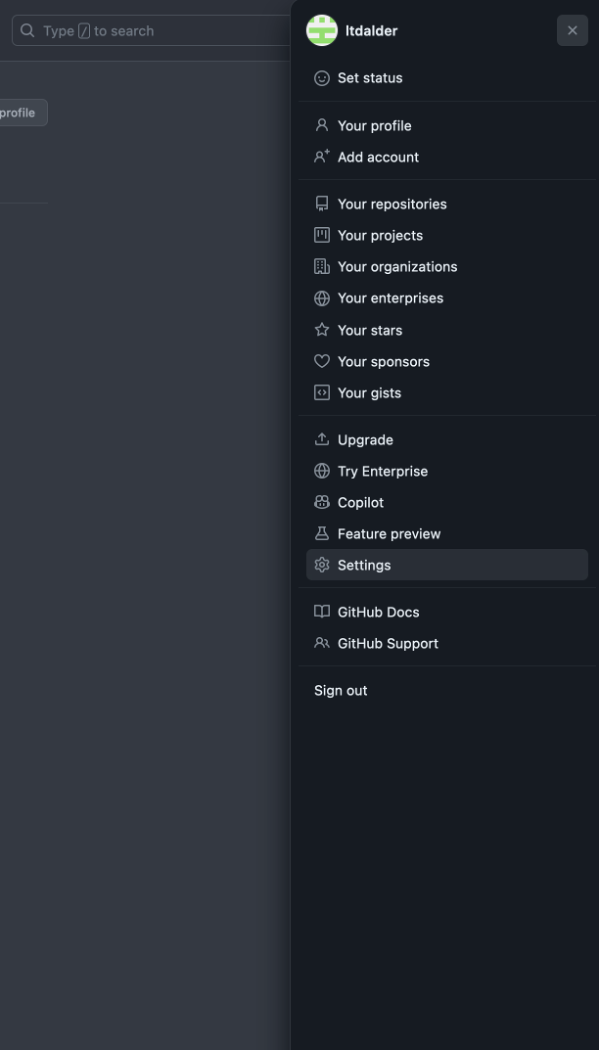
Navigate to the SSH and GPG keys.
Select the New SSH Key button.

Name your SSH Key and paste the key from the anvil Jupyter Notebook into the key section.
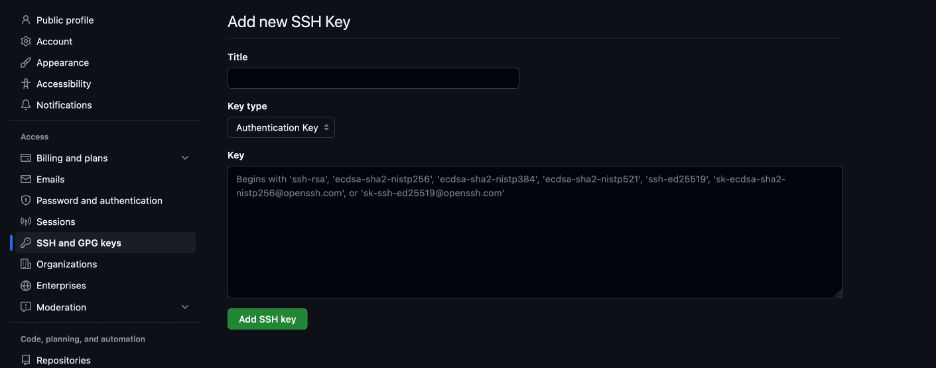
Select the add SSH Key option.
Confirm your SSH Key is now listed under the SSH Key section.
Close out the Jupyter Notebook Session.