Creating a Separate Channel in Microsoft Teams
Why Create a Separate Channel?
A dedicated channel lets you:
-
Keep sprint-specific or topic-specific discussions organized.
-
Limit access to a subset of students, mentors, or TAs.
-
Separate private files and chat threads from the main team.
Step-by-Step Instructions
-
Open your Team in MS Teams
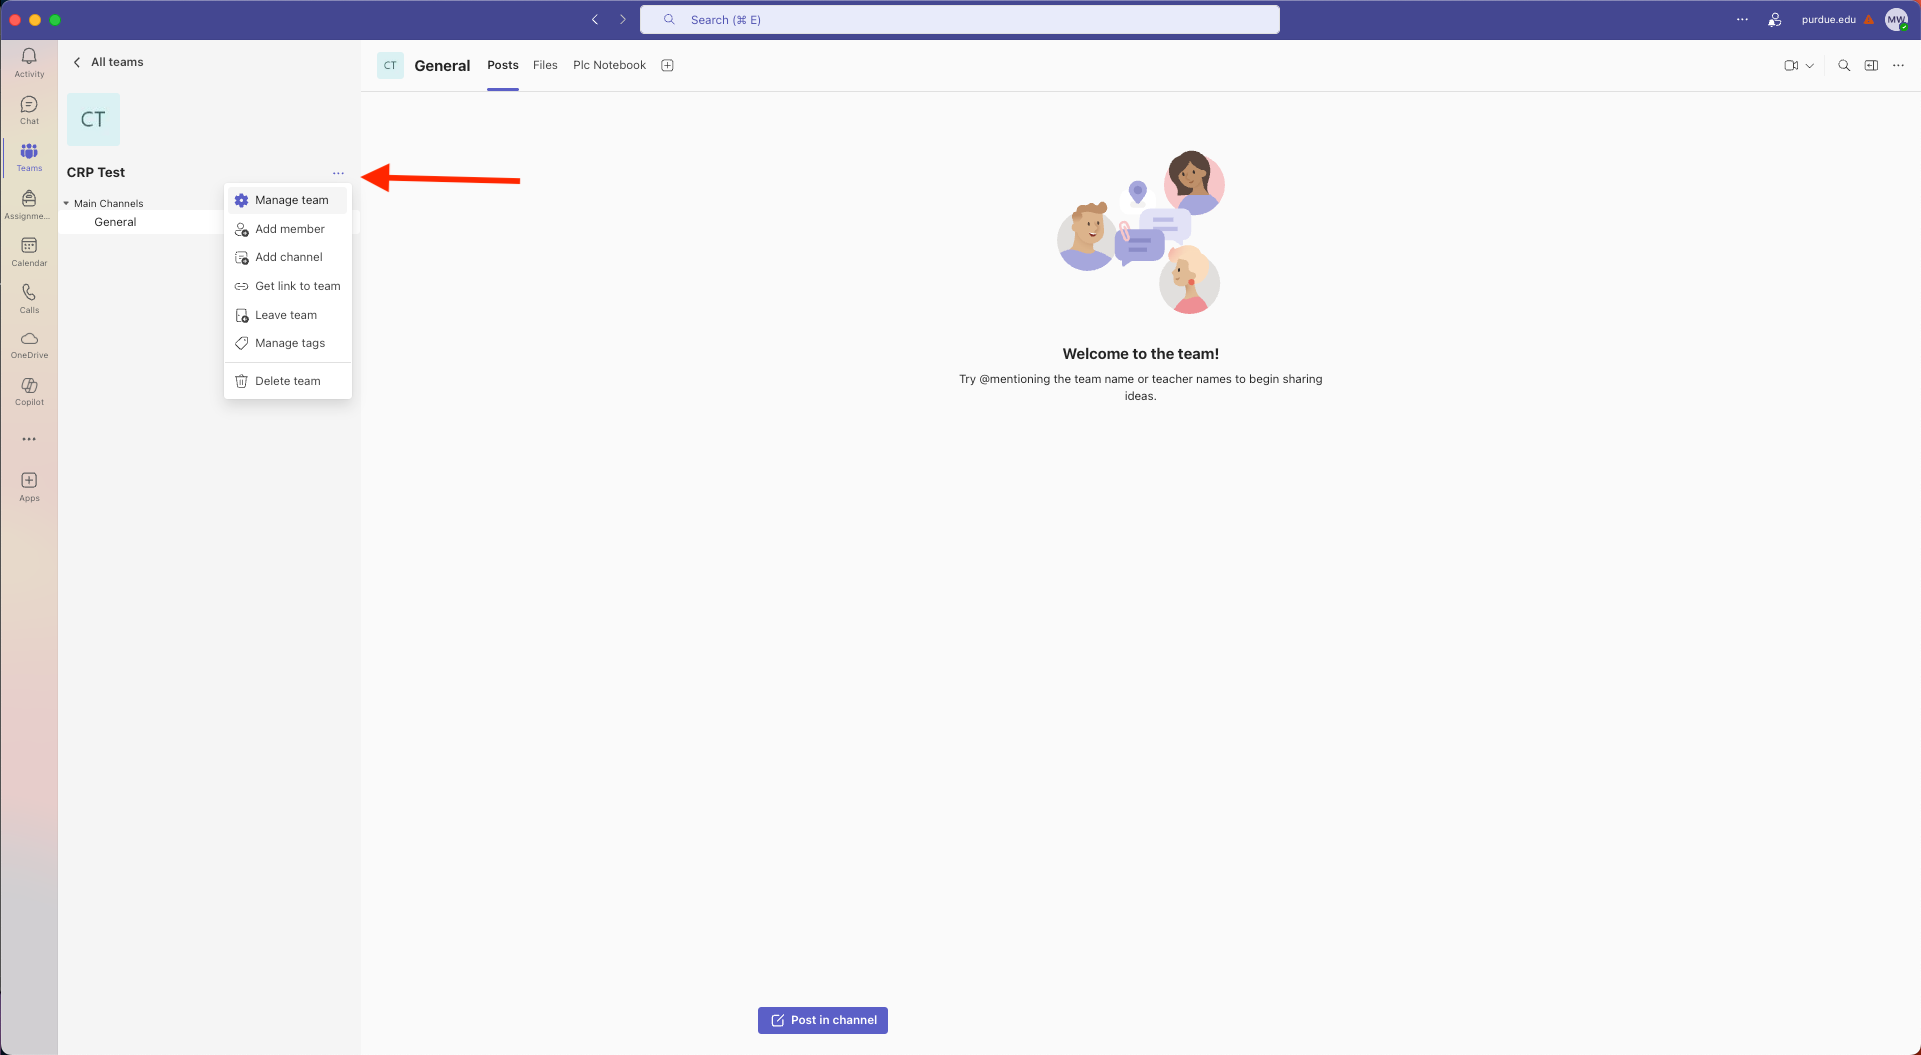 Figure 1. Manage Team
 -
Open Team Settings: Hover over the team name in the left sidebar, click the More options icon (…), and select Manage team.
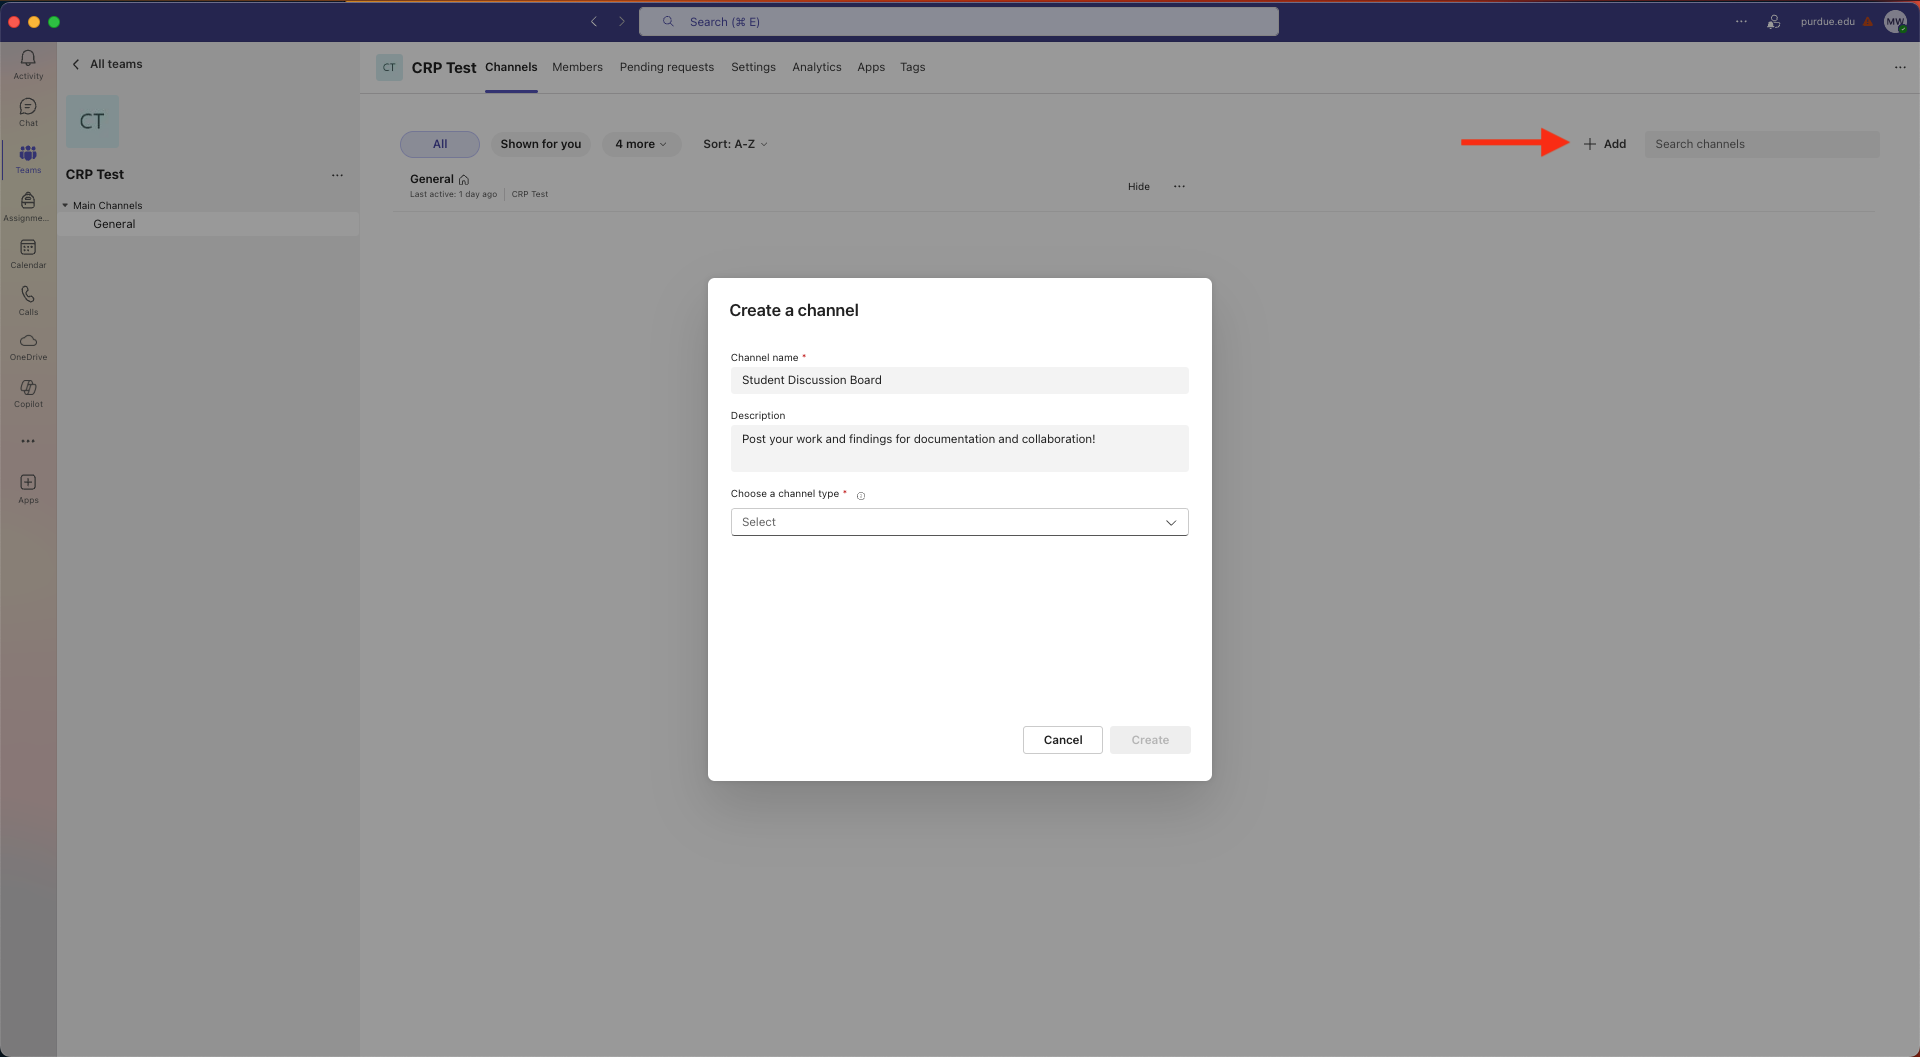 Figure 2. Create Channel
 -
Add a New Channel At the top-right of the Channels tab, click + Add.
-
Name & Describe Channel name → use something concise (e.g.,
Student Discussion Board). Description → add context so members understand the channel’s purpose.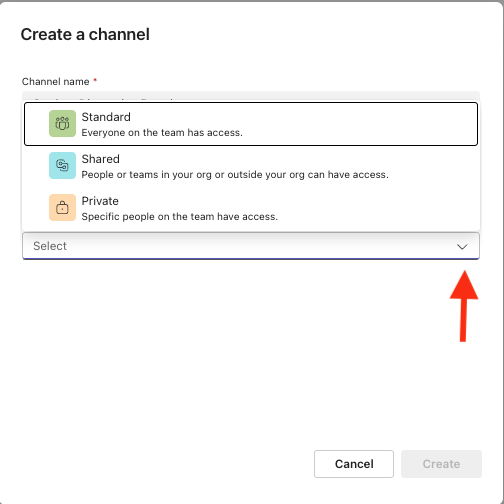 Figure 3. Privacy Levels
 -
Choose Privacy Level
-
Standard – visible to everyone in the team.
-
Private – visible only to selected members. (For student-only collaboration spaces, choose Private.)
-
-
Select Members If you chose Private, search for and add the specific students, mentors, or TAs who need access.
-
Create Click Create. Teams builds the channel and provisions its own Files tab and conversation space.
-
Manage As an owner managing the channel after creation, you can add and remove members and delete the channel.
Tips & Best Practices
-
Create another channel as a discussion board. Encourage students to frequently post, share ideas, or plan team events.
-
Limit the number of channels to avoid clutter; archive or hide inactive ones after the semester.
-
Permissions: Only Owners can create Private channels unless you loosen team-wide settings.
-
Use @mention inside the new channel to notify added members the first time you post.