Jupyter
Jupyter is a web based interactive computing platform. The primary tool, a notebook (.ipynb files), is like a notebook for code, with markdown cells for commentary, multiple different languages supported, and easy kernel switching. Jupyter Lab is a great place to build and edit the notebooks and is a great place to build and learn from code because of each cell having its own separate executable block.
First Time Using Jupyter
Once you’ve connected to your Jupyter session, you’ll see several different components. This guide is only for components that are used within The Data Mine. However, students are encouraged to play around in the environment and learn more.
When you open Jupyter for the first time, you’ll see an options bar across the top-left of the screen with options such as "File", "Edit", "View", and "Run". Under the options bar, the interface has options specific to Jupyter. This includes a blue + button to create a new notebook and an "Upload Files" button to add data.
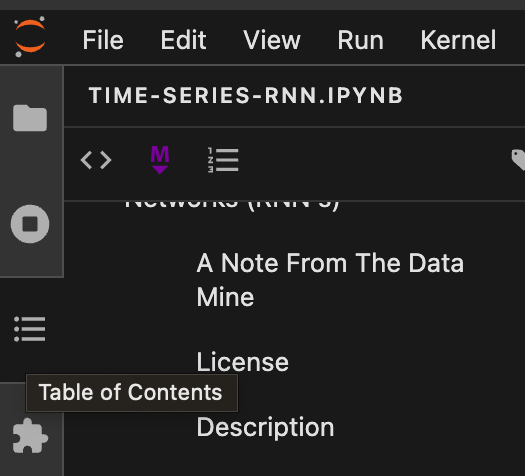
On the far left of the center section of the screen, there is a thin vertical menu with four images: a file, circle with a square in the middle, list icon, and puzzle piece. Most of the time, you will utilize the first file option. However, it’s helpful to note that there are other tabs available.
The main part of the Jupyter interface, next to the thin vertical menu on the center of the screen, is divided into two sections. The first one-third of the screen is the file menu for Jupyter. On Anvil, this defaults to your HOME directory. The other two-thirds of the screen contains the different launchers that are available in Jupyter.
The first section at the top of the of the launchers sub-menu, titled Notebook has all of the different Python and R kernels that are available on Anvil. Scrolling further down in the launchers screen, you’ll have options for Console and Other. Outside of Notebook, the launcher that can be helpful to note is the Terminal launcher found in Other at the bottom of the sub-menu. This interface allows you to run terminal commands on Anvil. This isn’t used by everyone but can be helpful to note for reference.
Double clicking on any of the options under Notebook in the sub-menu will create a new Jupyter Notebook with that kernel. It’s important to note that the notebook will be created in the directory that you’ve navigated to in the left-hand file menu. Most of the time, this will be the HOME directory. However, if you click into the team’s Corporate Partners directory and then create a notebook, it will create the notebook file in that team directory.
|
The If you’re unsure of where to start, start with |
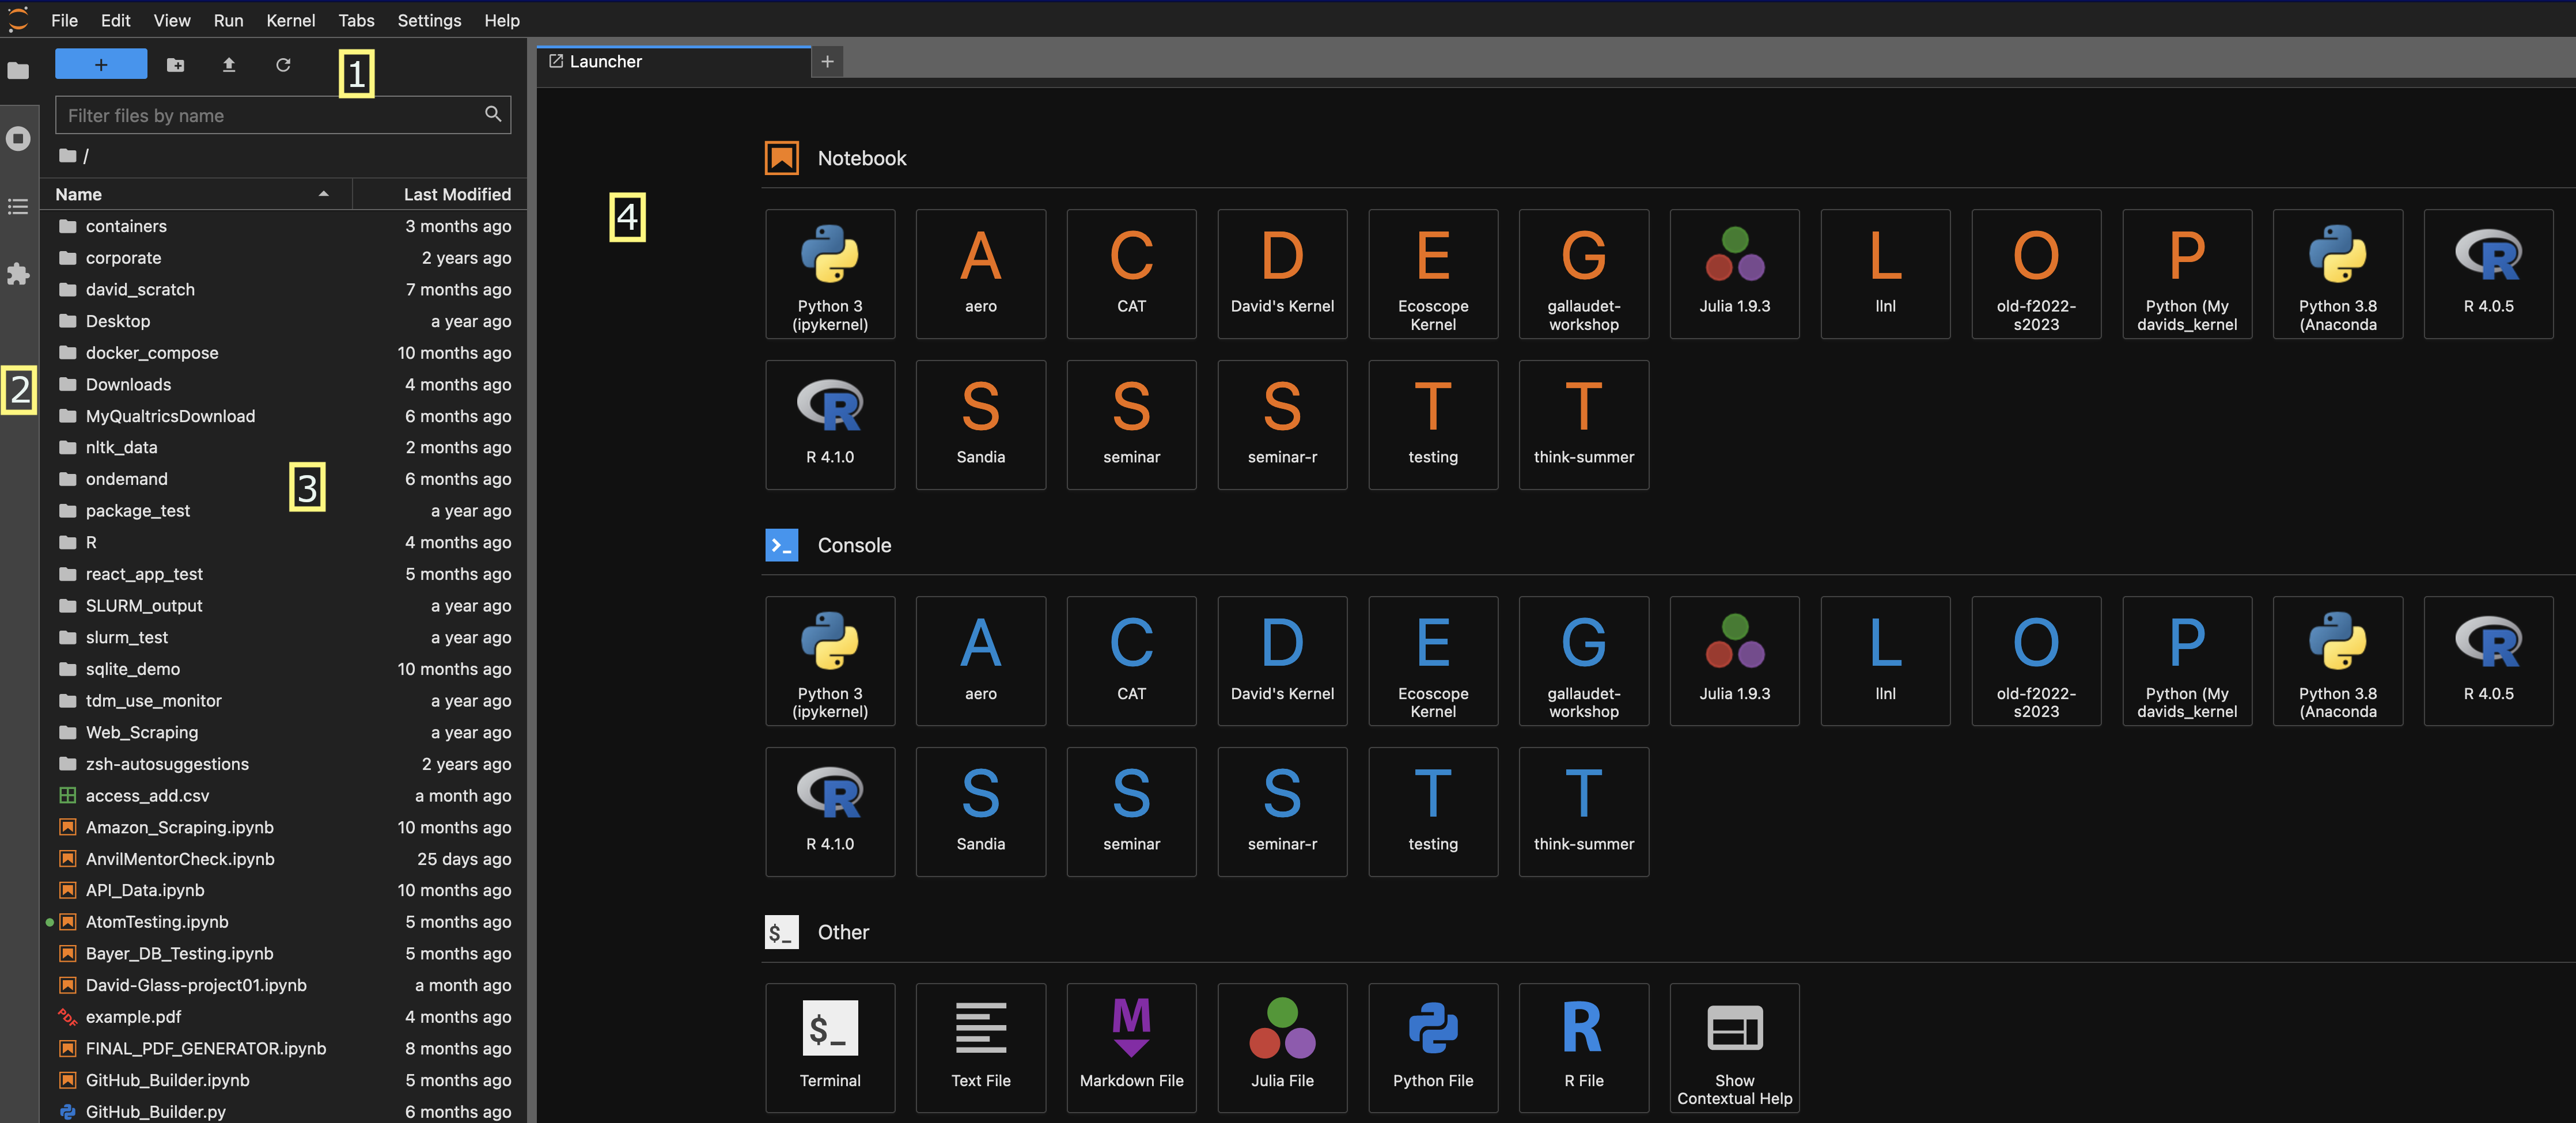
Image key:
-
Options menu
-
Left side-bar
-
File menu
-
Launcher menu
Running Commands in Jupyter
After you’ve launched a new notebook, you’ll see some changes in the layout. The top-left options bar and left-hand file menu remain the same. However, the center and right two-thirds that was the launcher menu has now been replaced by your new notebook.
Jupyter treats each notebook as a tab. In the upper left-middle of the screen, you’ll see the title of the tab. Most often, this will show Untitled.ipynb until the notebook name is updated.
Just under the notebook name is a set of options for your notebook. These options are:
-
save: save the notebook in its current location.
-
new cell: add a new code cell under the current cell.
-
cut cell: remove the select cells.
-
copy cell: copy the selected cells to the clipboard.
-
paste cell: paste any cells from the clipboard into the current cursor location.
-
run cell: execute the current cell.
-
interrupt cell: interrupt the code that’s currently running.
-
restart: restart the current kernel
-
restart and run all: restart the current kernel and run all cells in the notebook.
-
cell type: this defaults to
Code, but also has drop-down options forMarkdownandRaw.-
Code cells house the programming language that will be run.
-
Markdown cells keep comments and other text formatting.
-
Raw cells are less used, but have applications if you’re going to convert the notebook into a different format.
-
On the same line, but on the upper right side of the notebook sub-menu there is the kernel name and kernel status icon. If you ever need to change the kernel, you can click on the kernel name and select the new kernel from the drop-down list.
Under these notebook options, you’ll see a blank cell in the notebook. On the right side of the cell, you’ll see options to duplicate the cell, move the cell up, move the cell down, add a cell above, add a cell below, and delete the cell.
Jupyter attempts to run the cells in order. So, you may need to change their order depending on how you want the function to run.
For the last step, we’ll run an example Python command. In the blank cell, add the code below:
print("Hello world!")
Once you’ve finished typing, you have two options to run the code cell. Either click the run cell play button in the notebook options bar or use shift+enter on your keyboard. This will run your first command in a Jupyter notebook!

Image key:
-
File menu
-
Notebook commands
-
Notebook cell
-
Cell options
-
Kernel options
How Can I Upload Code to Anvil in Jupyter Notebook?
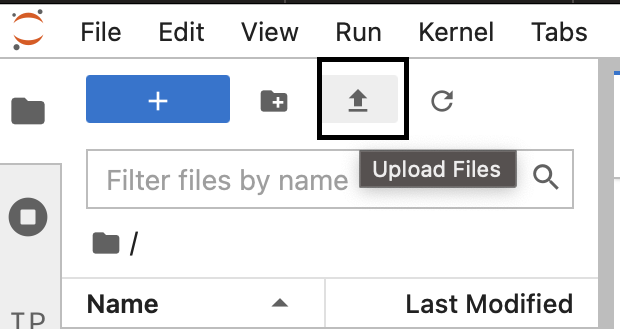
After you’ve downloaded the project, log in to Anvil and request a Jupyter Lab session, and upload the file. You’ll see the upload button like the one below in the top left corner of your screen.
Problems With Jupyter Loading
Computers do exactly what we tell them to do. The trouble is we have to figure out what we told them to do.
Sometimes we ask Jupyter to do something that causes problems, and we aren’t even sure exactly where the problem is in the stack. Here’s how you can stop the runaway kernel on Jupyter.
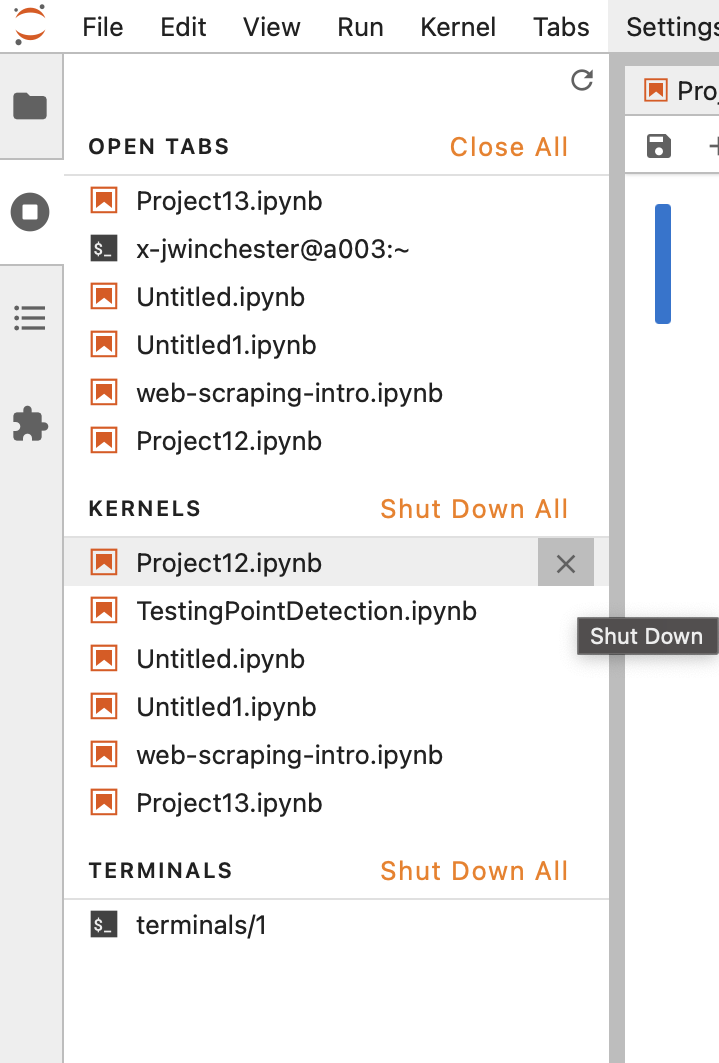
On the top left corner of Jupyter Lab, click the round circle with a square in it.
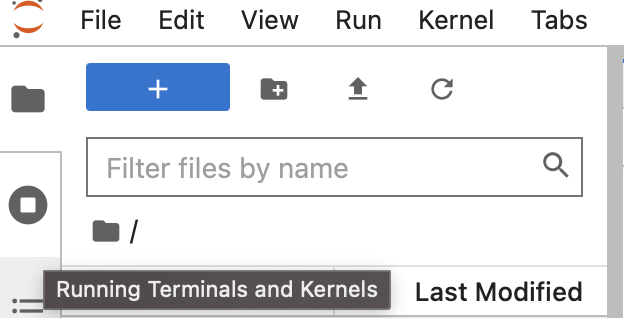
Now you’ll see all the tabs opened and the kernels running. You can hover and click one at a time to shut them down, or you can 'Shut Down All'.
I Want To Steal All The Code From The Notebook, Without The Data Mine’s Comments
While it is possible to Download and Save As… Python in the Jupyter Lab top left menu for some files, it doesn’t always work. The code below will remove the Markdown and other cells, but keep the Python code, including any #hashtag comments in Python. This isn’t very easy to do on Anvil, but if you download the file, then get the path of the notebook, this will export the Python cells to a .py script in the same folder. Make sure you have Jupyter installed locally to do this.
| Replace the /path/to/notebook with the path to the notebook you want to convert. |
| There is similar functionality to convert to other languages that Jupyter supports. |
| This is a shell script. |
jupyter nbconvert --to python /path/to/notebook.ipynb