ACCESS Setup for General users
The following instructions are for general users of Anvil resources.
-
Navigate to the ACCESS User Registration.
-
Select the link in step 1 "Register with an existing identity".
-
In the dropdown under "Select an Identity Provider", click the "ACCESS CI" dropdown and in the long list of choices, look for your university there.
-
If you find your university, then select it and continue the steps below.
-
If you do not find your university, then (instead) follow the instructions here: Other University setup
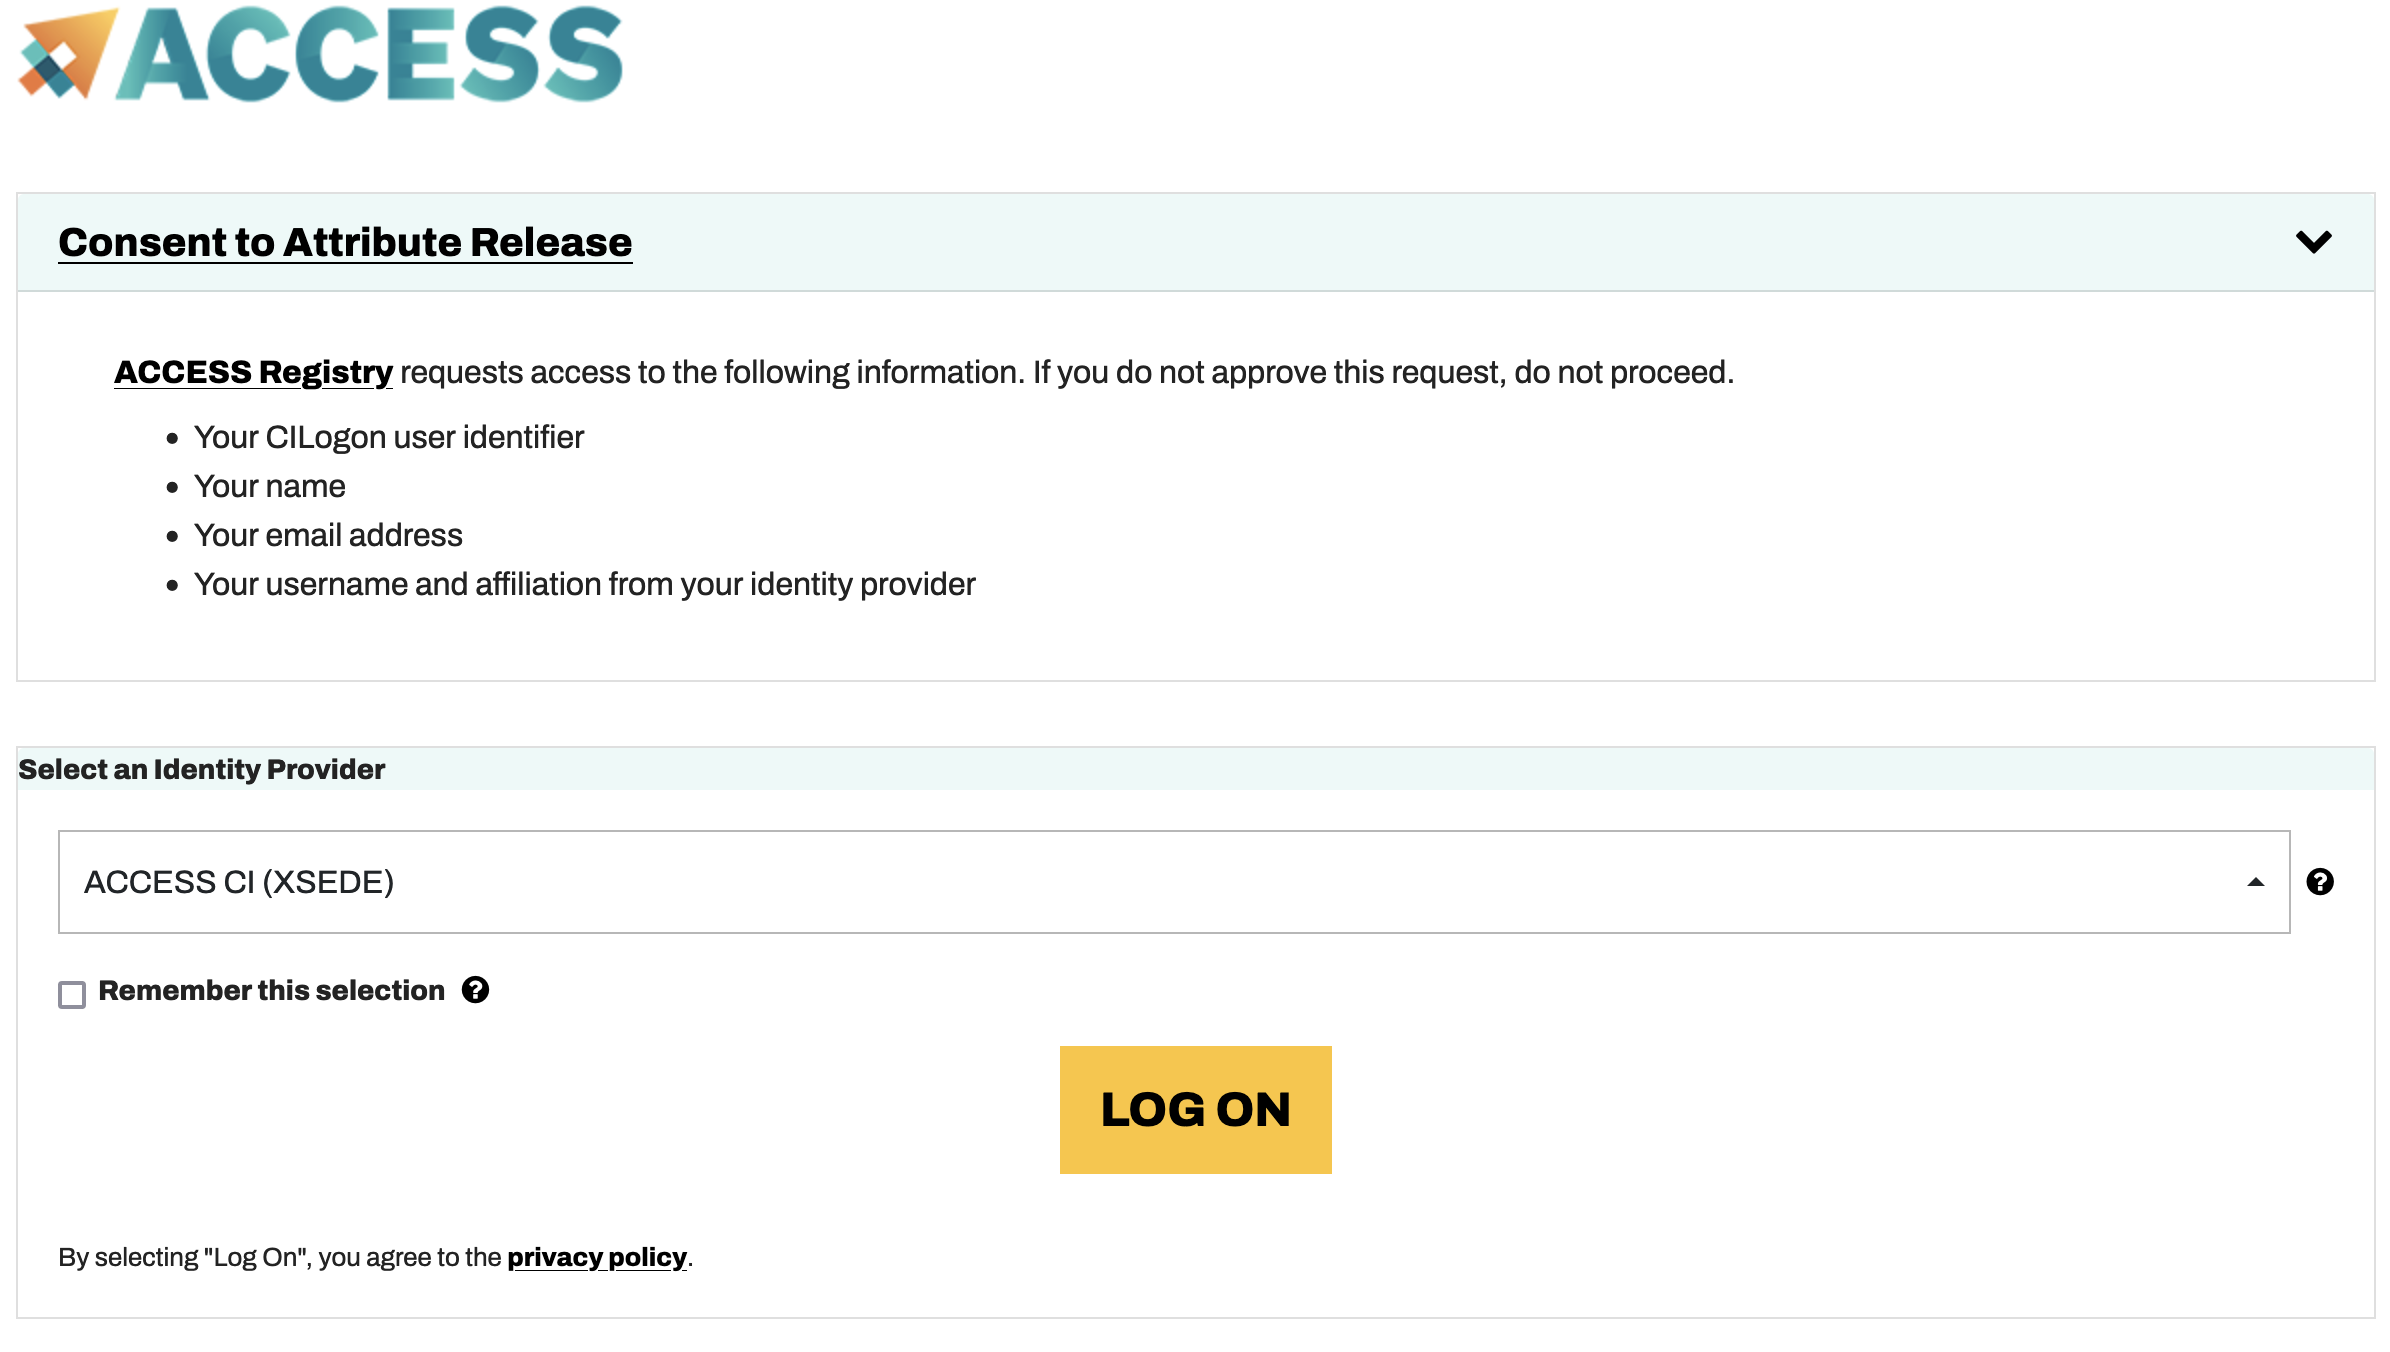 Figure 1. ACCESS CI Dropdown Menu
-
-
Click "Log On".
-
Use your university’s 2-factor authentication scheme to log in.
-
Click "Begin".
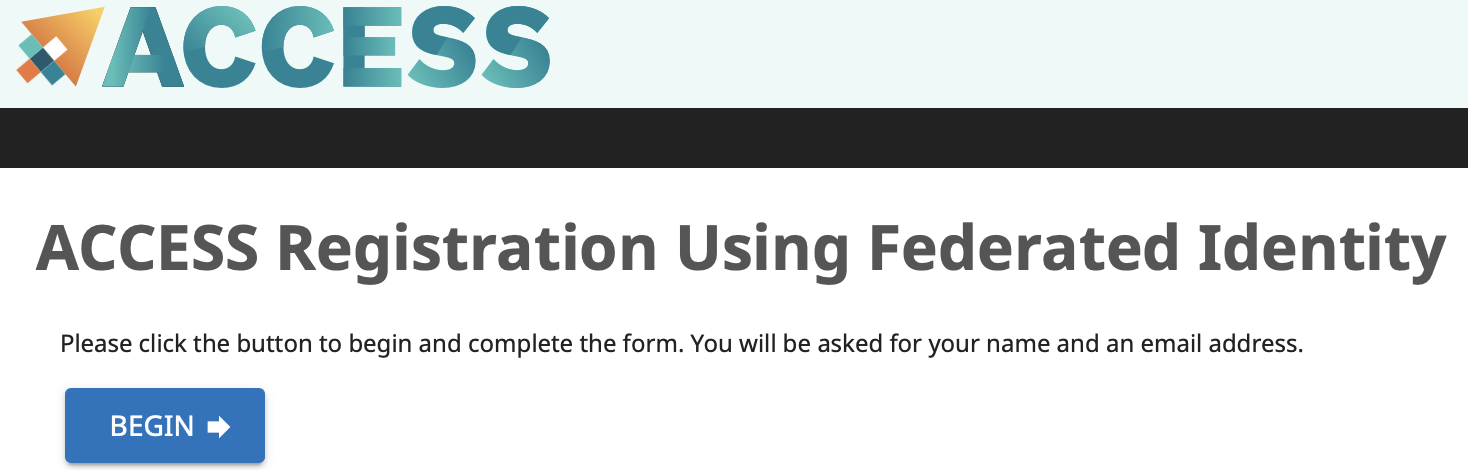 Figure 2. ACCESS CI Begin Button
 -
Enter your name and your university email address.
-
Select your Home Organization and click "Submit".
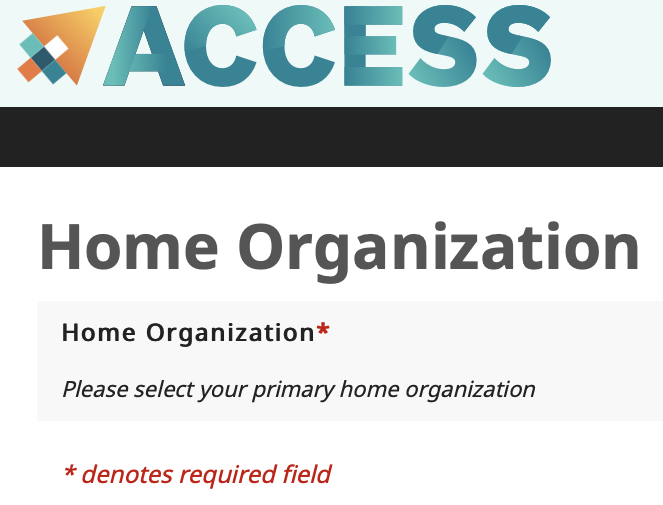 Figure 3. ACCESS CI Home Organization
 -
Click the "Accept" button on the Invitation to Users page.
-
Agree to the Terms and Conditions, and click "Submit".
-
Make a note of your new ACCESS ID, and click "Yes" to get a password.
-
Make a password for your new ACCESS ID, and click "Submit".
-
Please don’t forget this last step: Navigate to the ACCESS User survey and enter your full name, email address, and the username you just created.
-
Timeframe: after you fill out the survey The Data Mine team still needs to add your ID to the ACCESS allocation. This process will be completed within 24-hrs.
-
If you attempt to login to ondemand.anvil.rcac.purdue.edu and you see a
failed to map usererror, it is because your ID hasn’t been added to the allocation. If this hasn’t resolved in 24-hrs, please email [email protected].
-
-