Geospatial Analytics using Python and SQL
Basic PostGIS
What is PostGIS and Why Do We Use it?
According to the documentation directly from PostGIS, it is defined as the following: "PostGIS is a spatial database extender for PostgreSQL object-relational database. It adds support for geographic objects allowing location queries to be run in SQL."
In layman’s terms, PostGIS is SQL functionality that supports geospatial transformation, analysis, and manipulation. With PostGIS, you can execute commands such as:
| PostGIS Command | Definition |
|---|---|
|
Returns the area of a polygonal geometry |
|
Measures the distance (cartesian for geometry; geodetic for geography) of a given shape |
|
Boolean. Geometry A contains Geometry B if and only if no points of B lie in the exterior of A, and at least one point of the interior of B lies in the interior of A. |
|
Boolean. If a geometry or geography shares any portion of space then they intersect. |
These commands—as well as the hundreds not listed here—can help us answer questions, such as:
-
How far away is Paris from Los Angeles?
-
ST_Distance
-
-
Where are overpasses located in our highway network?
-
ST_Intersect
-
-
What is the area of the city of Chicago, IL?
-
ST_Area
-
How can I use PostGIS?
Whether in a native SQL GUI or in a Python session, you can run PostGIS using a variety of methods. To do this, the following steps are required:
-
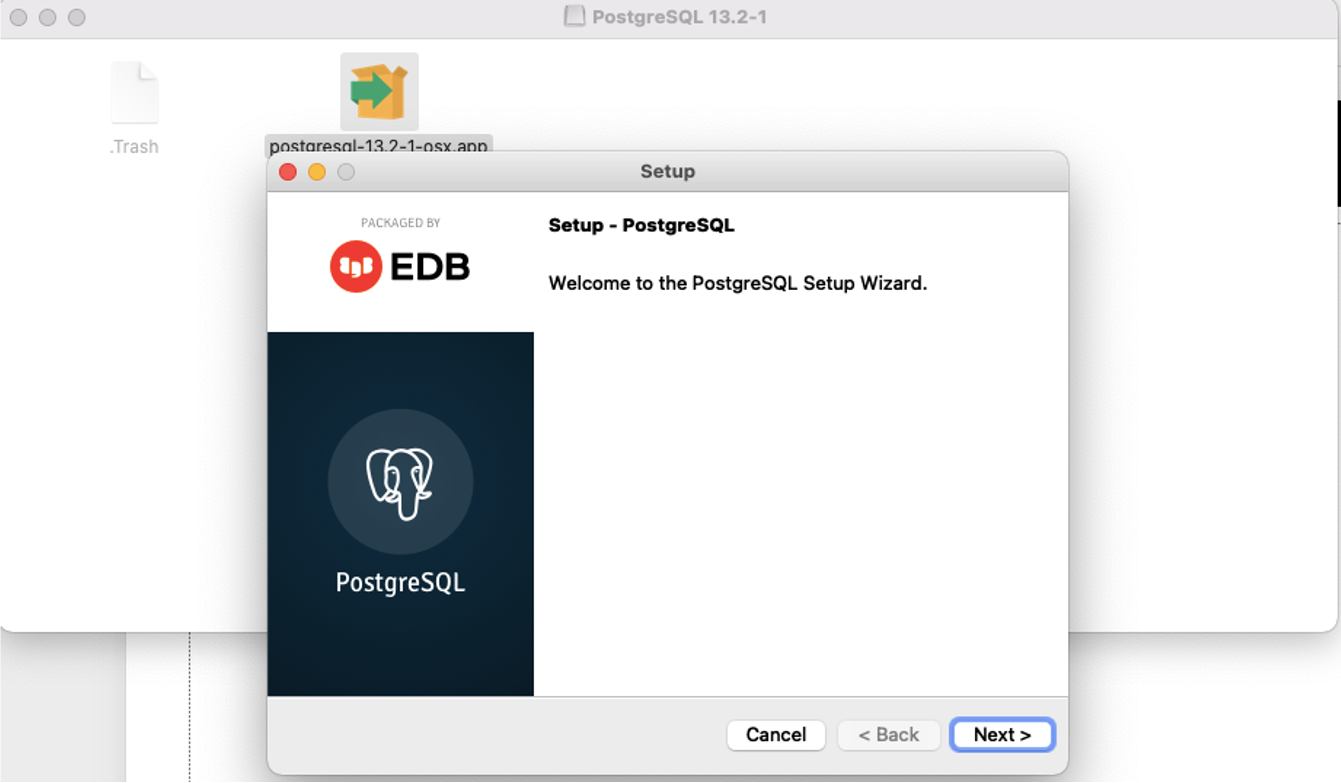
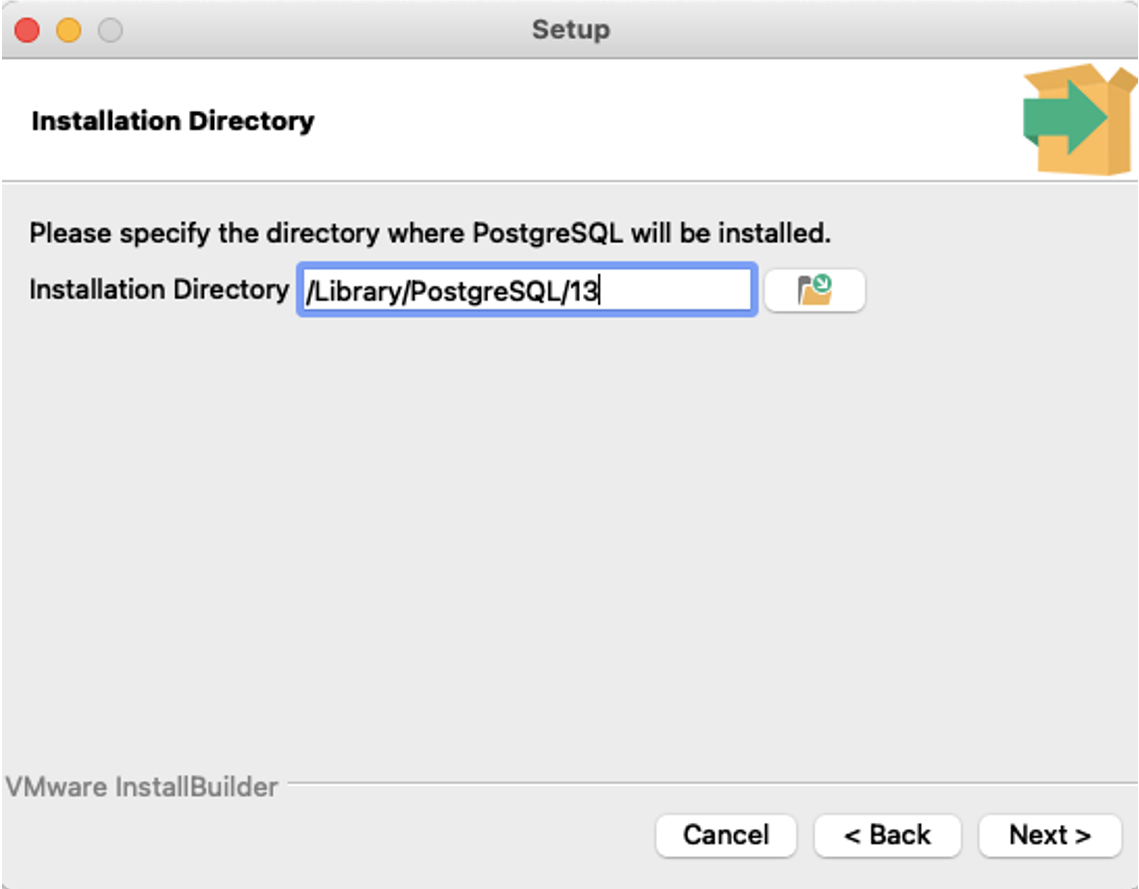
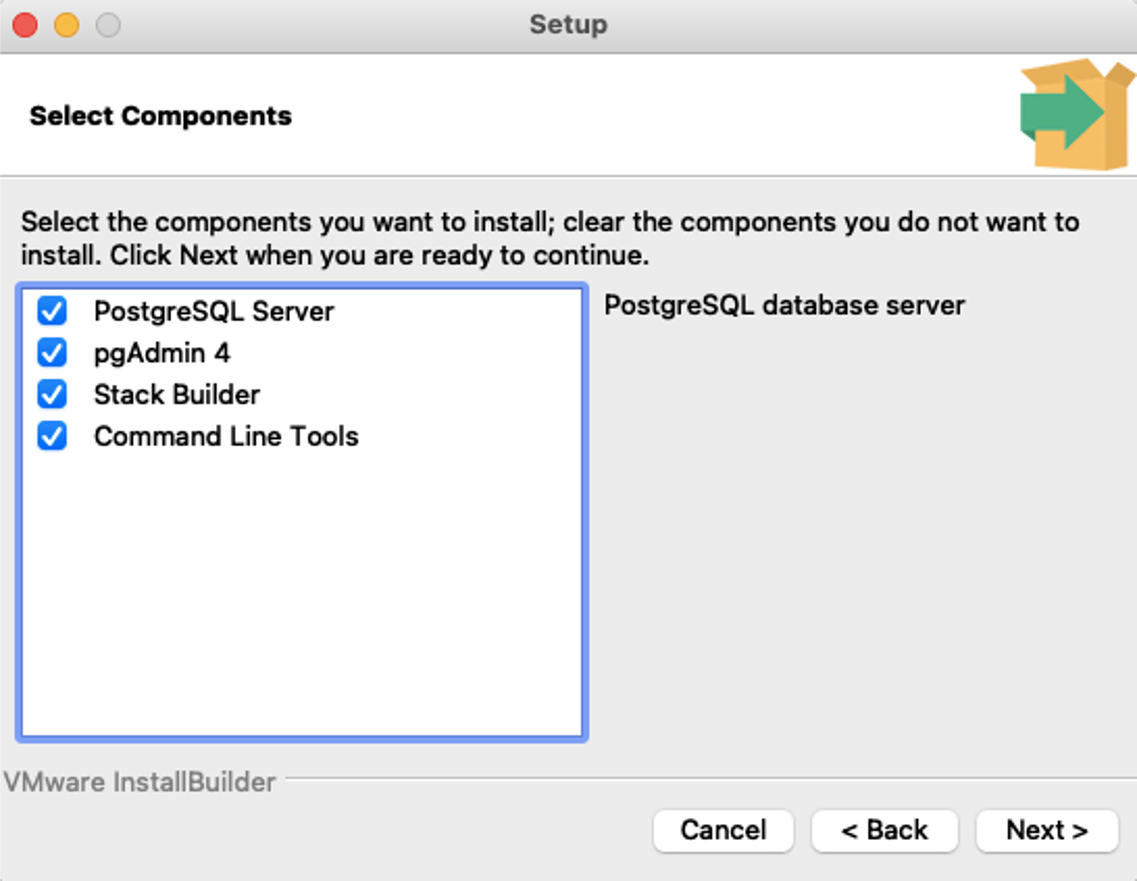
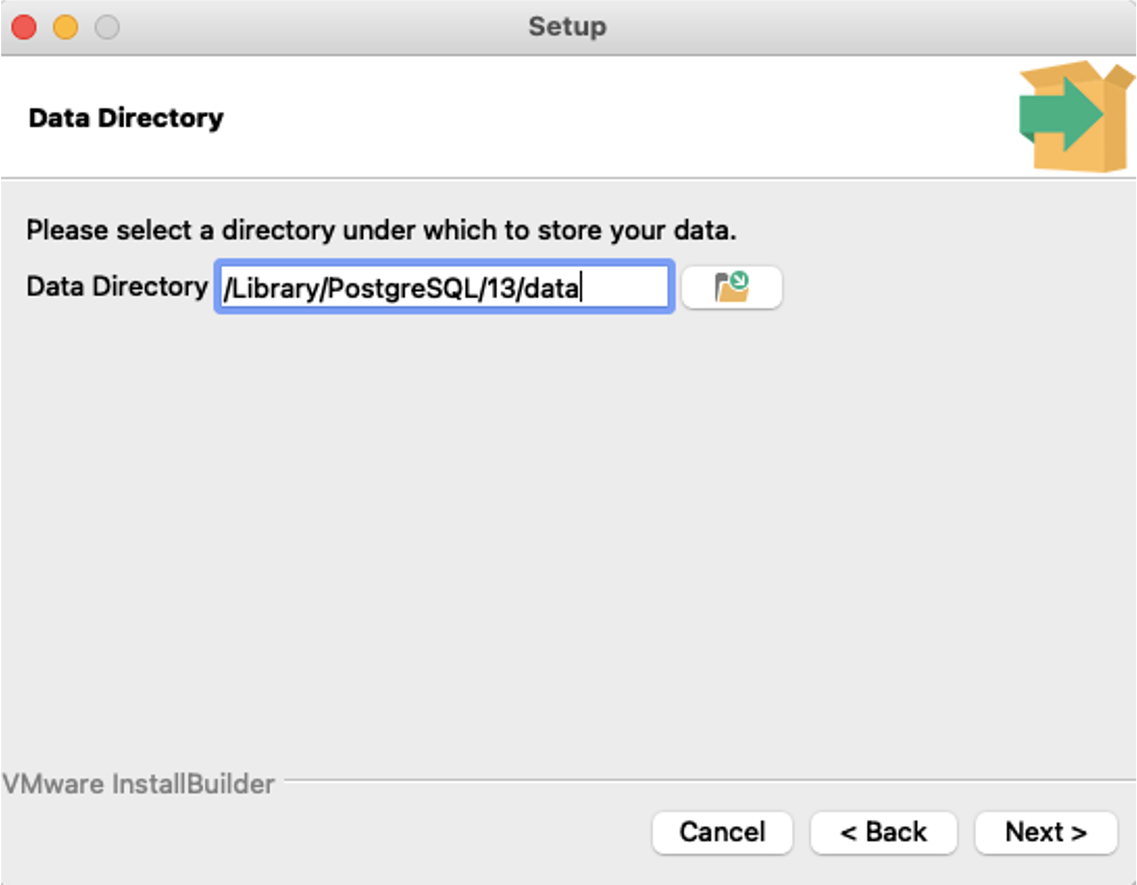
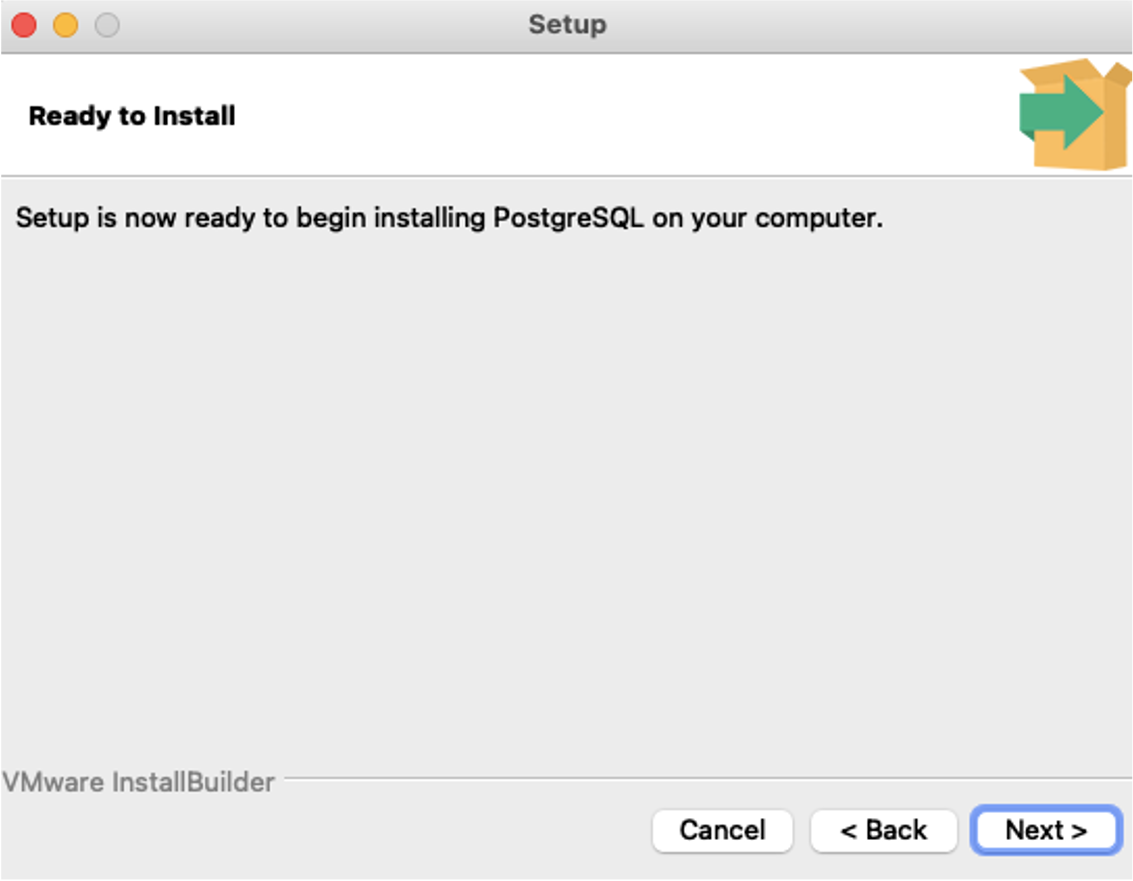
Install and set up PostgreSQL
-
Install PostGIS
-
Configure PostgreSQL to run PostGIS
-
Run PostgreSQL (either via CLI or GUI on your local machine)
We will walk through the steps to do these below.
Install and set up PostgreSQL
The following is the download link for PostgreSQL: www.enterprisedb.com/downloads/postgres-postgresql-downloads
<td class="icon">
<i class="fa icon-tip" title="Tip"></i>
</td>
<td class="content">
Mac users can simply run the following command in any terminal session: brew install --cask postgres
</td>
If you are a Windows user, you will need to do the following:
<td class="icon">
<i class="fa icon-tip" title="Tip"></i>
</td>
<td class="content">
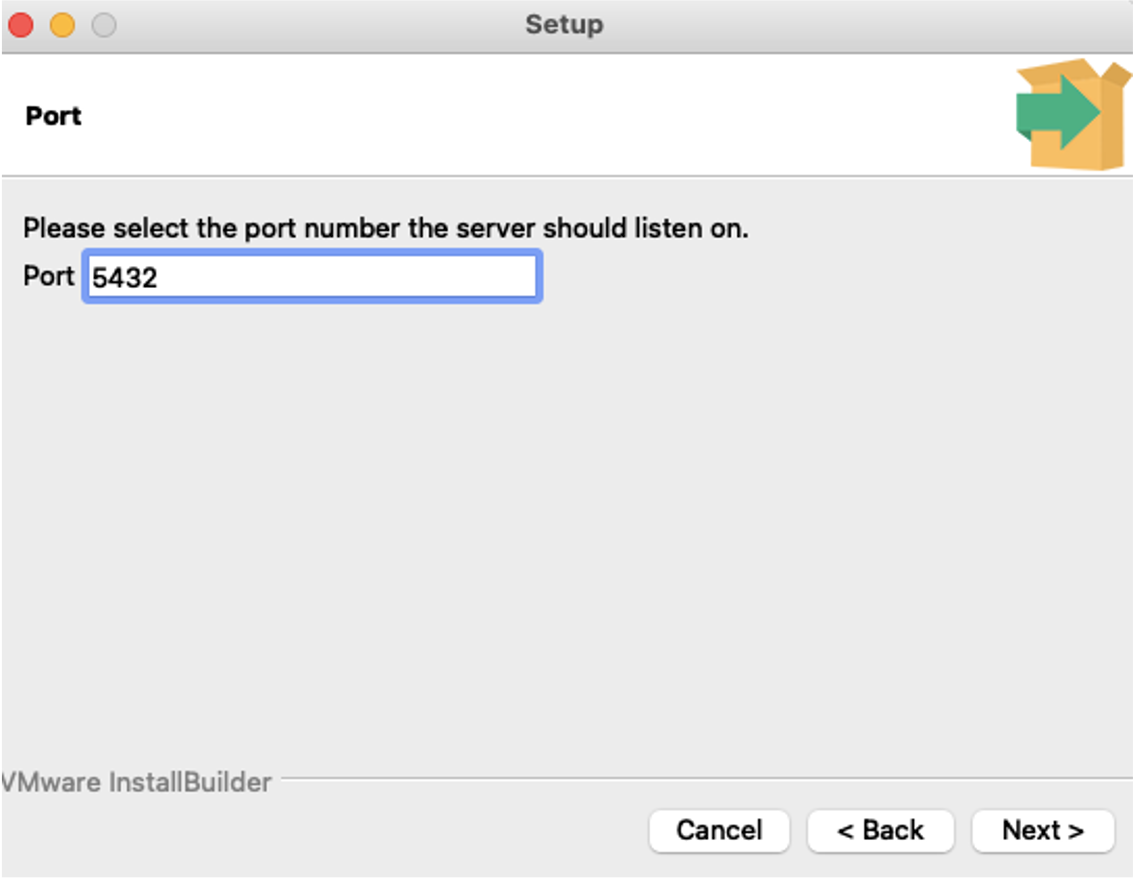
The default port is 5432
</td>
Once the installation finishes, restart your computer. Upon restarting your computer, you can use PostgreSQL either via GUI (pgAdmin) or CLI (psql):
-
To download and install pgAdmin: www.pgadmin.org/download/
To use CLI (access psql) – this is the preferred method:
-
On Windows:
-
On Windows, you can find
psqlin the Program Files, and you should be able to launch it in a command prompt simply by clicking on it.
-
*On Mac:
**You should be able to run psql directly from a terminal of your choice. BE SURE TO SPECIFCY -U flag for postgres user
Using PostgreSQL:
To use default database (called postgres):
psql –U USERNAMEOnce you are “inside” the postgres database called “postgres”:
CREATE database NAME;Now, to use psql and connect to a specific database:
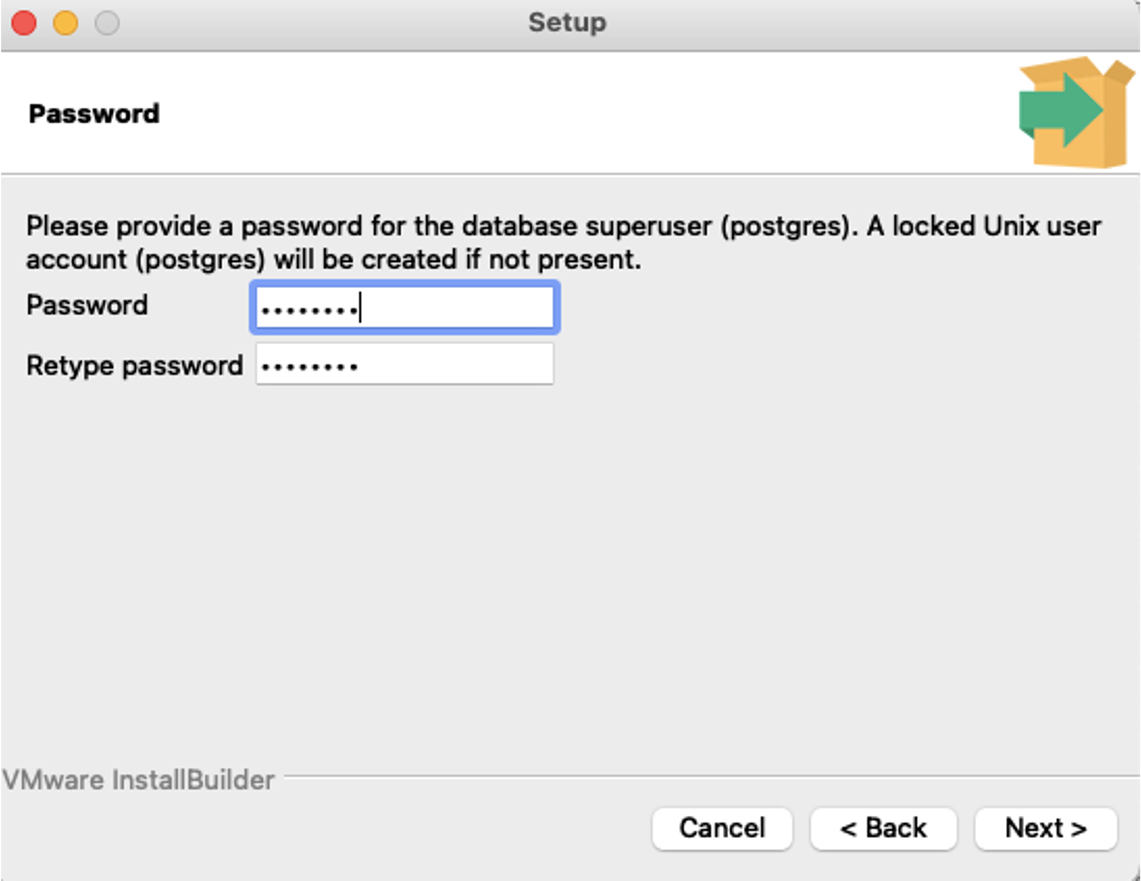
psql –U USERNAME –d DB_NAME<td class="icon"> <i class="fa icon-tip" title="Tip"></i> </td> <td class="content"> If you have a password, upon running, you will be asked to enter it </td>
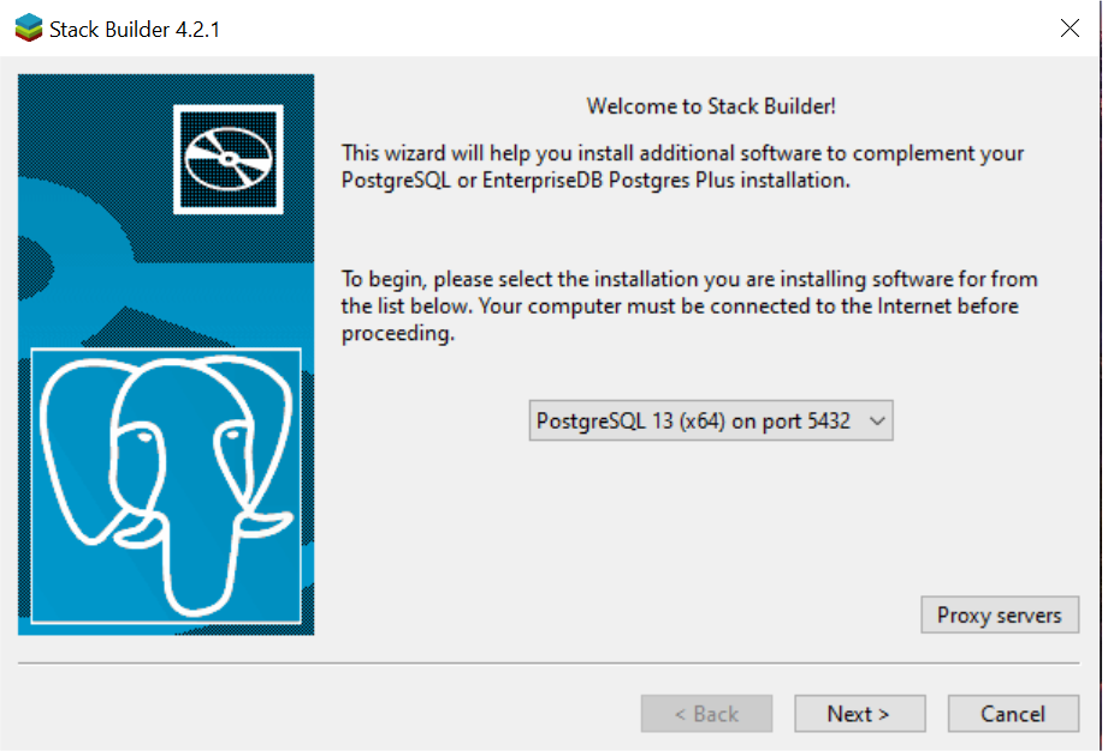
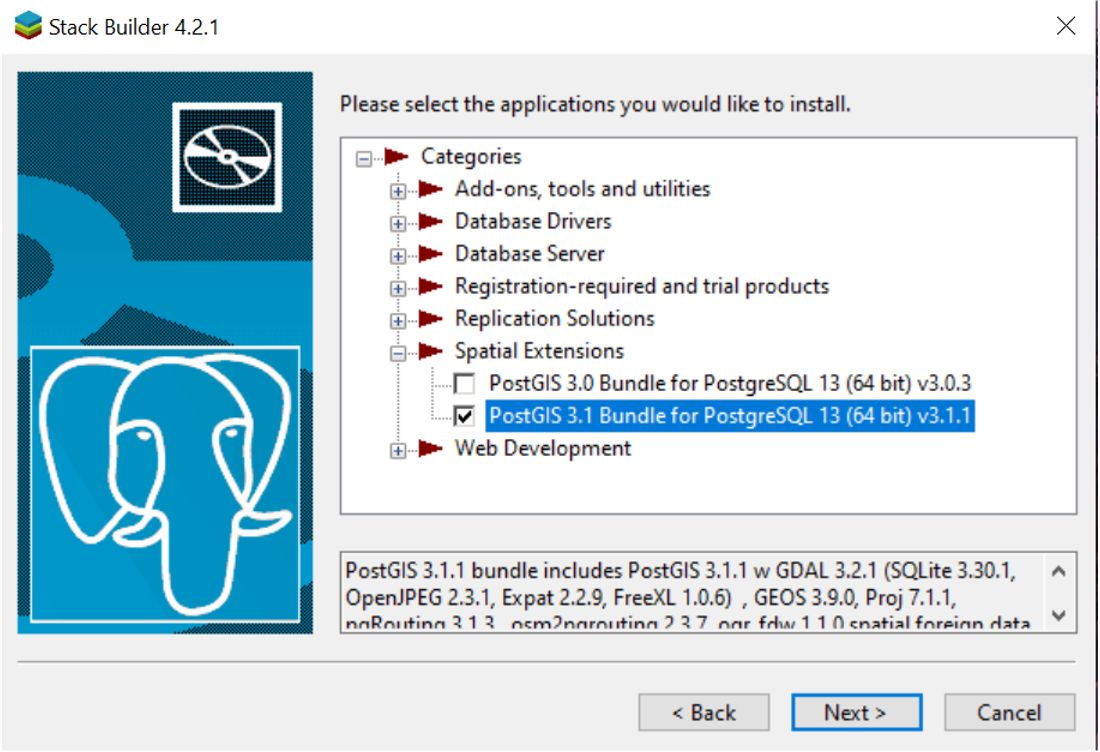
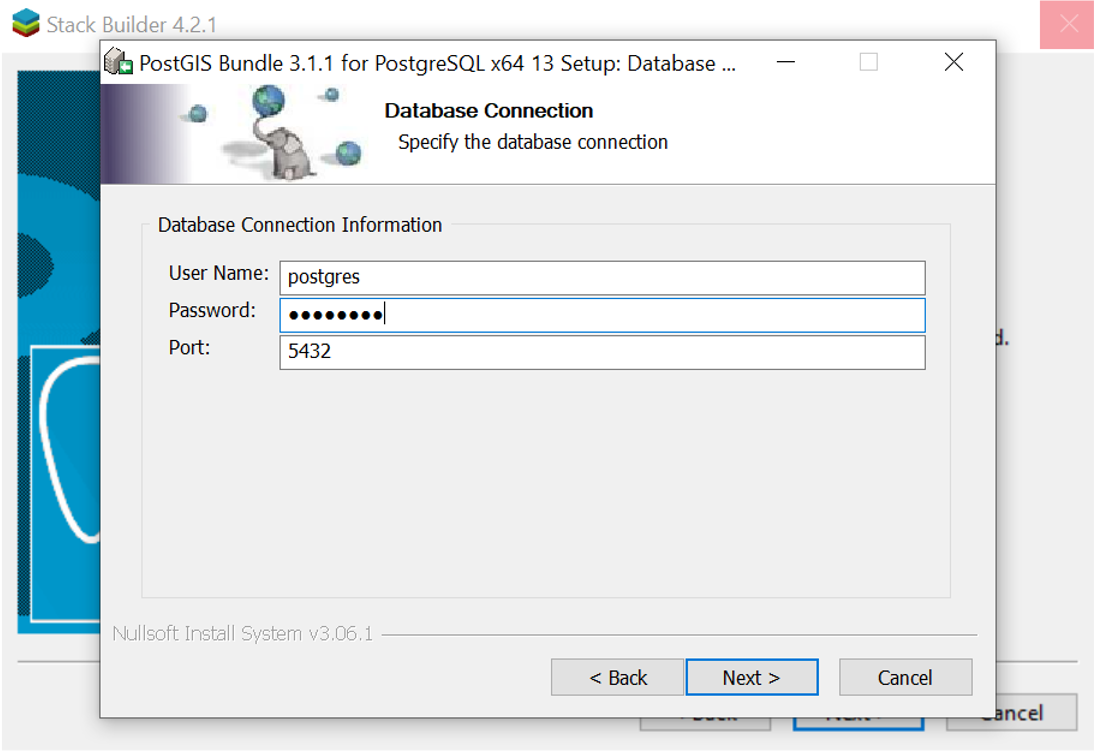
Install PostGIS
Installing PostGIS is easy. For Mac users, simply run the following:
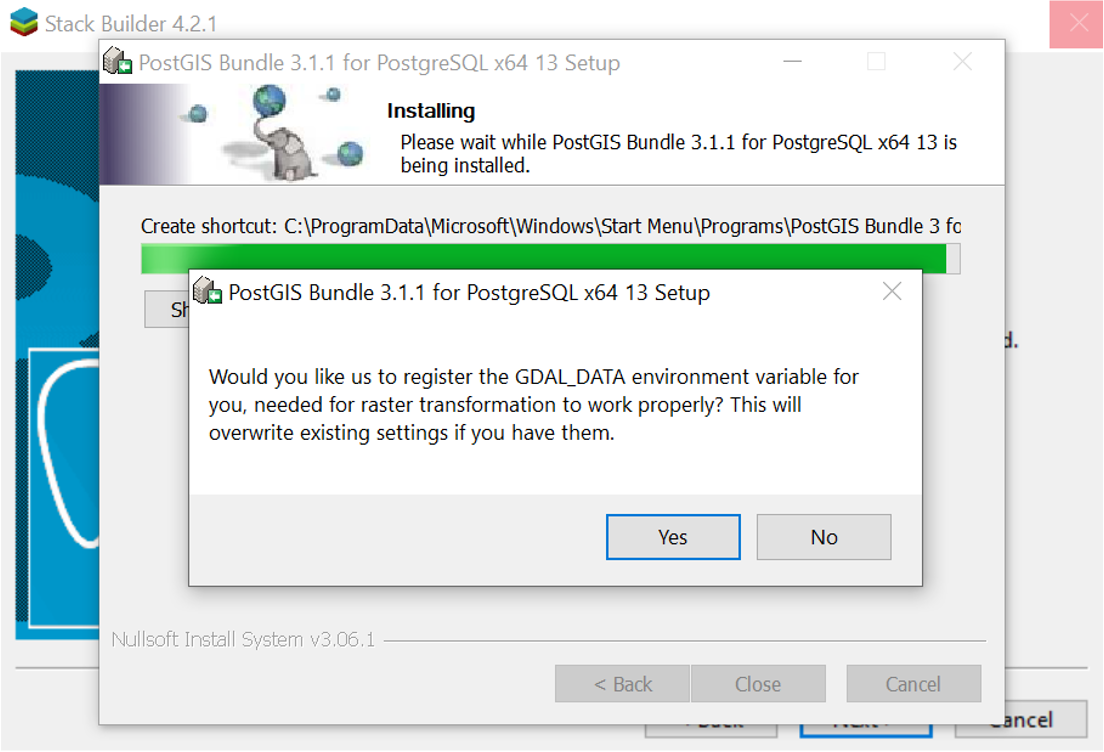
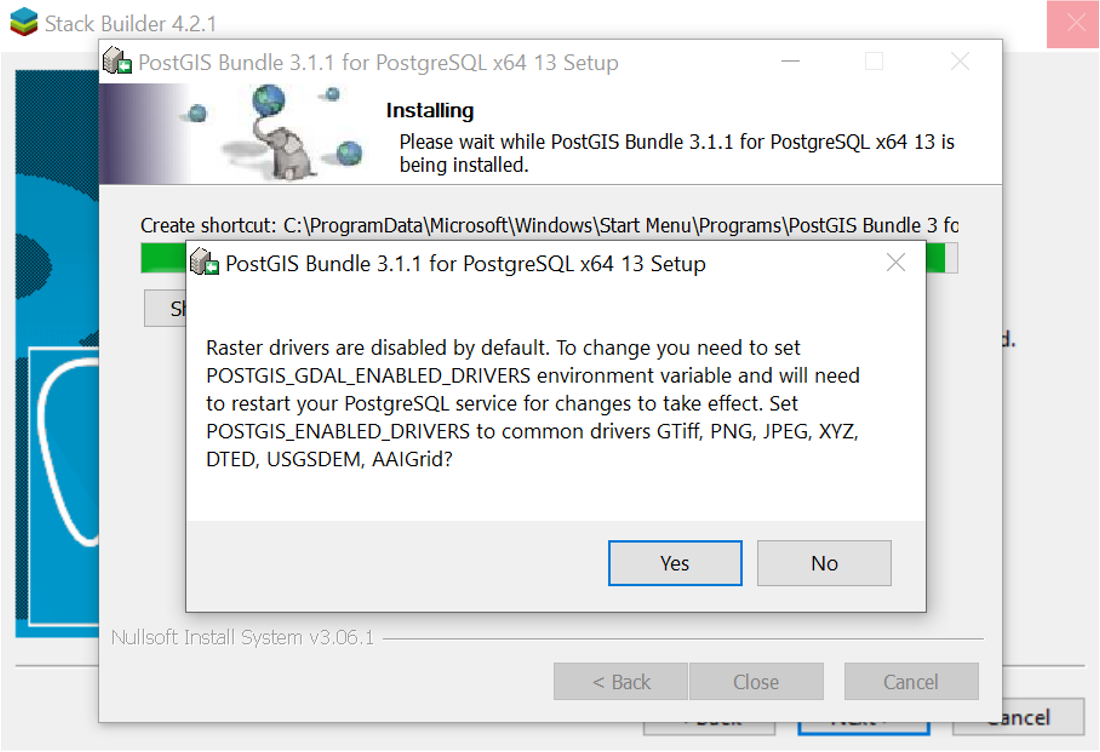
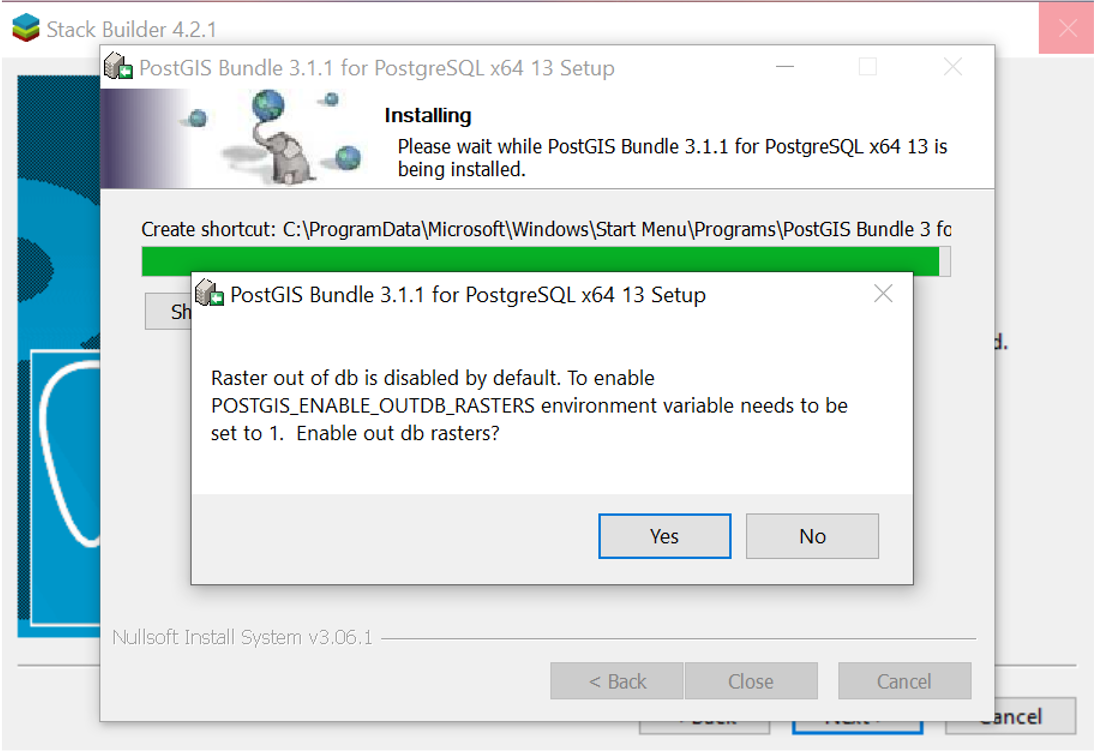
brew install postgisFor Windows users, complete the following:


Configure PostgreSQL to run PostGIS
Once PostGIS is installed, you need to activate it on your PostgreSQL DB. You can easily do this by using the following SQL command:
-- Enable PostGIS (as of 3.0 contains just geometry/geography)
CREATE EXTENSION postgis;
-- enable raster support (for 3+)
CREATE EXTENSION postgis_raster;
-- Enable Topology
CREATE EXTENSION postgis_topology;
-- Enable PostGIS Advanced 3D
-- and other geoprocessing algorithms
-- sfcgal not available with all distributions
CREATE EXTENSION postgis_sfcgal;
-- fuzzy matching needed for Tiger
CREATE EXTENSION fuzzystrmatch;
-- rule based standardizer
CREATE EXTENSION address_standardizer;
-- example rule data set
CREATE EXTENSION address_standardizer_data_us;
-- Enable US Tiger Geocoder
CREATE EXTENSION postgis_tiger_geocoder;
<td class="icon"> <i class="fa icon-tip" title="Tip"></i> </td> <td class="content"> You only need to run this command once upon creation of your PostgreSQL DB. </td>
Accessing PostgreSQL on Jupyter Notebook
Accessing your Postgres instance within a Jupyter Notebook is very simple by leveraging sqlalchemy. If you’re running a local instance on your machine, ensure Postgres is running and exposed.
You will need the following packages installed and imported:
# Required Packages
import geopandas as gpd
from sqlalchemy import create_engine, text
from sqlalchemy_utils import create_database, database_exists, drop_database
import pandas as pd
from pandasql import *
pysqldf = lambda q: sqldf(q, globals())
From there, establish the connection to the database:
#Variables
db_type = "postgres"
username = "YOUR_USERNAME"
password = "YOUR_PASSWORD"
host = "YOUR_HOST" #localhost if on your local machine
port = "YOUR_PORT"
db_name = "YOUR_DB_NAME"

#Put it together
engine = create_engine(f"{db_type}://{username}:{password}@{host}:{port}/{db_name}")
Once you’ve created the connection engine, you can easily run scripts such as:
ql = """
SELECT
    city,
    COUNT(city) AS num_records,
    SUM(ST_NumGeometries(geom)) AS numpoly_before,
    ST_NumGeometries(ST_Multi(ST_Union(geom))) AS num_poly_after,
    ST_PointFromText('POINT(0 0)') AS dummy
FROM
    ch11.cities
GROUP BY
    city, dummy
HAVING
    COUNT(city) > 1;
"""

ex_11_1_1_2 = gpd.GeoDataFrame.from_postgis(sql=sql, con=engine, geom_col="dummy")
This table (ex_11_1_1_2) lists cities that straddle multiple records, how many polygons each city straddles, and how many polygons you’ll be left with after dissolving boundaries within each city.
If you’re a student at Purdue, you can access a Postgres DB on our Geddes Cluster. Contact Justin Gould ([email protected]) for more information on gaining access.