GitHub Desktop
Microsoft’s GitHub is a popular platform for git repository hosting and provides a myriad of related developer tools. GitHub Desktop is a graphical user interface for git-related work. While it is specifically designed to be used with GitHub, it is possible to use with some other providers. For simplicity, when anything version control related is mentioned in this book, guidance will be demonstrated primarily using GitHub Desktop in combination with GitHub.
Install GitHub Desktop
Installing GitHub Desktop is easy.
-
First, if you do not already have an account at GitHub, open a browser and navigate to the signup page, and follow the instructions.
-
Once you have a GitHub accont, install GitHub Desktop by following the directions here.
-
After launching the application, you should be presented with a screen similar to this.
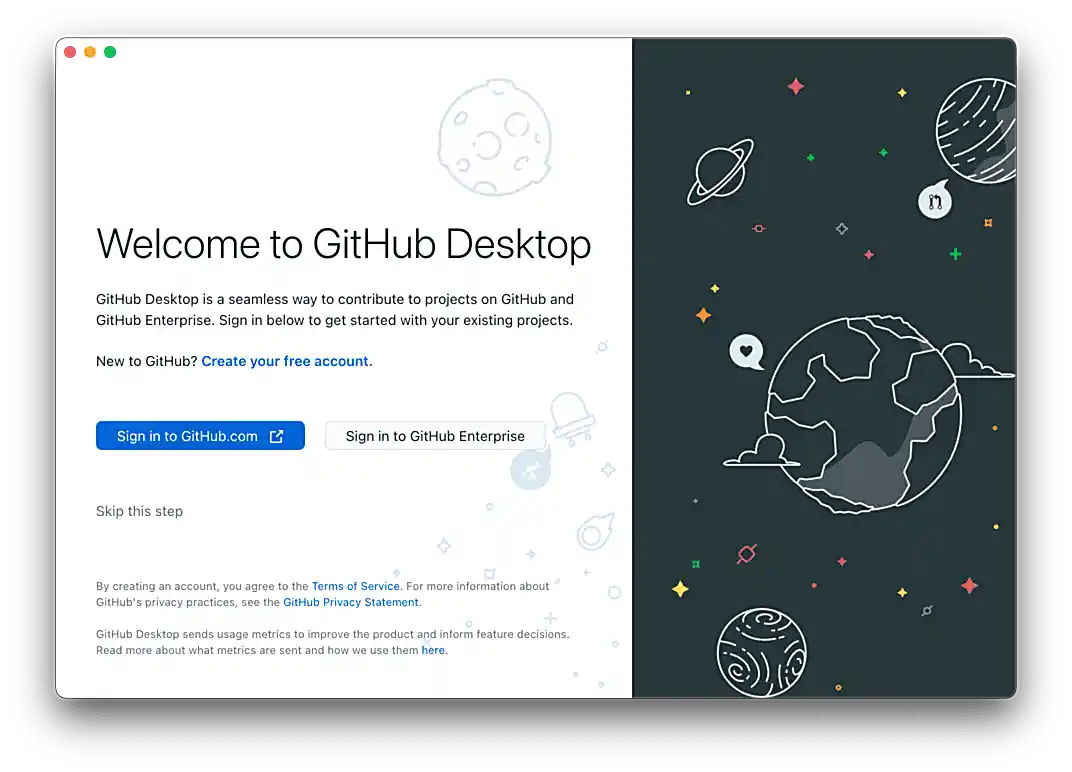 Figure 1. GitHub Desktop welcome screen
 -
Click on Sign in to GitHub.com. This should launch your default browser and present you with the following screen.
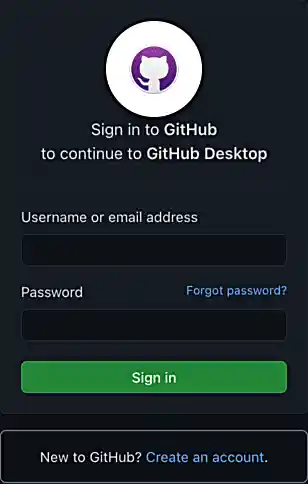 Figure 2. Sign in to GitHub to continue to GitHub Desktop
 -
Enter your GitHub credentials and click Sign in. If you are asked if you’d like to open a link up in the GitHub Desktop application, click okay. You’ll be presented with the following screen.
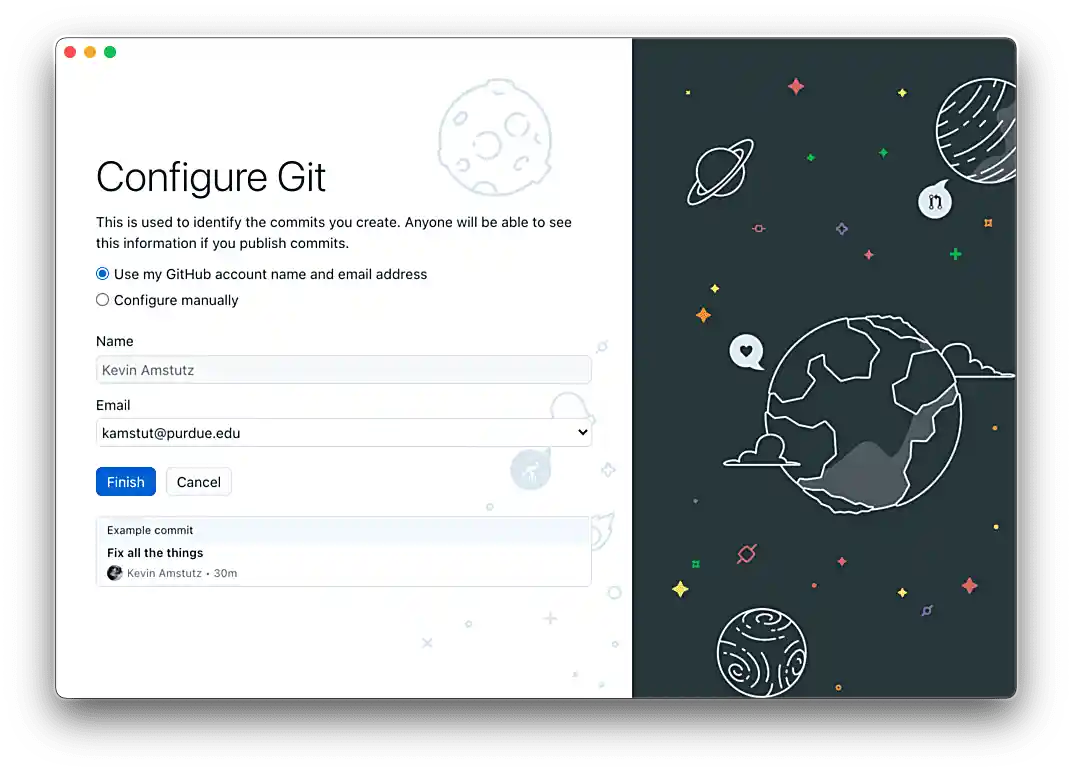 Figure 3. Configure git
 -
Select Use my GitHub account name and email address, make sure the Name and Email fields look correct, and click Finish when satisfied. You will be presented with a new screen.
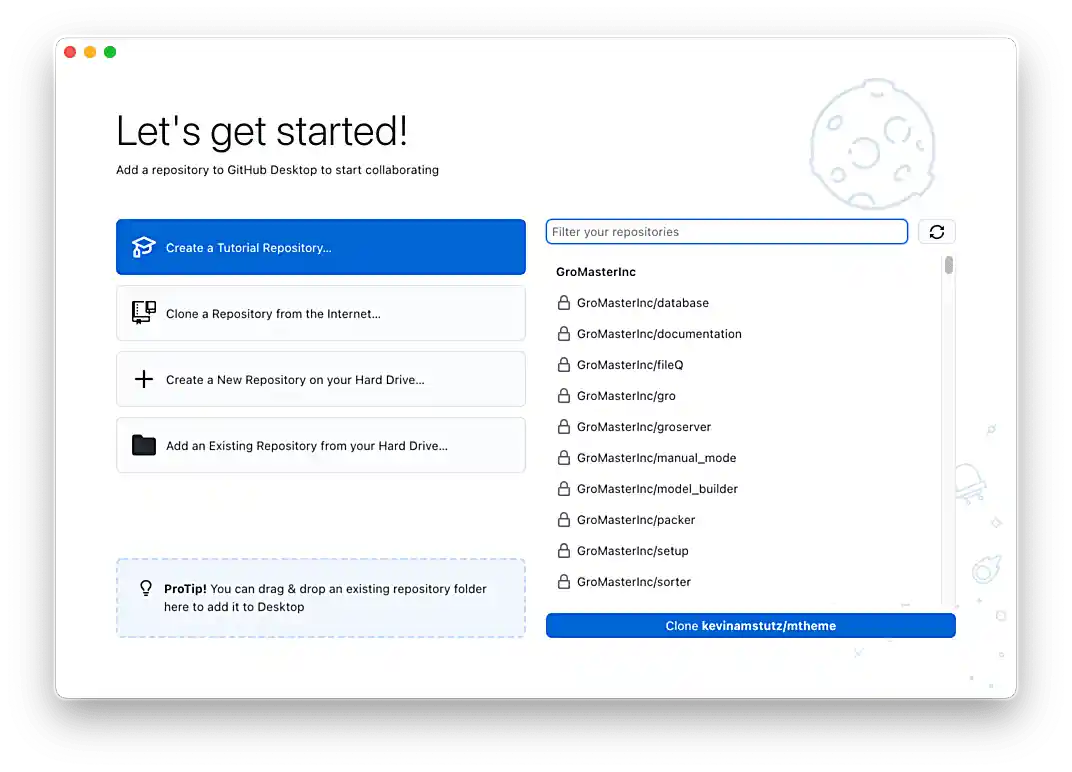 Figure 4. GitHub Desktop getting started page
 -
It is well worthwhile to take a moment and explore and modify the preferences. Navigate to . The following are some notable settings to consider changing.
- Integrations
-
-
Set your preferred text editor.
-
Set your preferred terminal emulator.
-
- Git
-
-
Make sure your default branch name for new repositories is Main.
-
- Appearance
-
-
Change your theme from Light to Dark.
-
- Prompts
-
-
Check all items in order to trigger confirmation dialogs.
-
- Advanced
-
-
Select Ask me where I want the changes to go.
-
Check Periodically fetch and refresh status of all repositories.
-
Decide whether or not you want to send GitHub usage statistics.
-
Click Save.
-
-
Now, with the Dark theme applied, your screen should look like this.
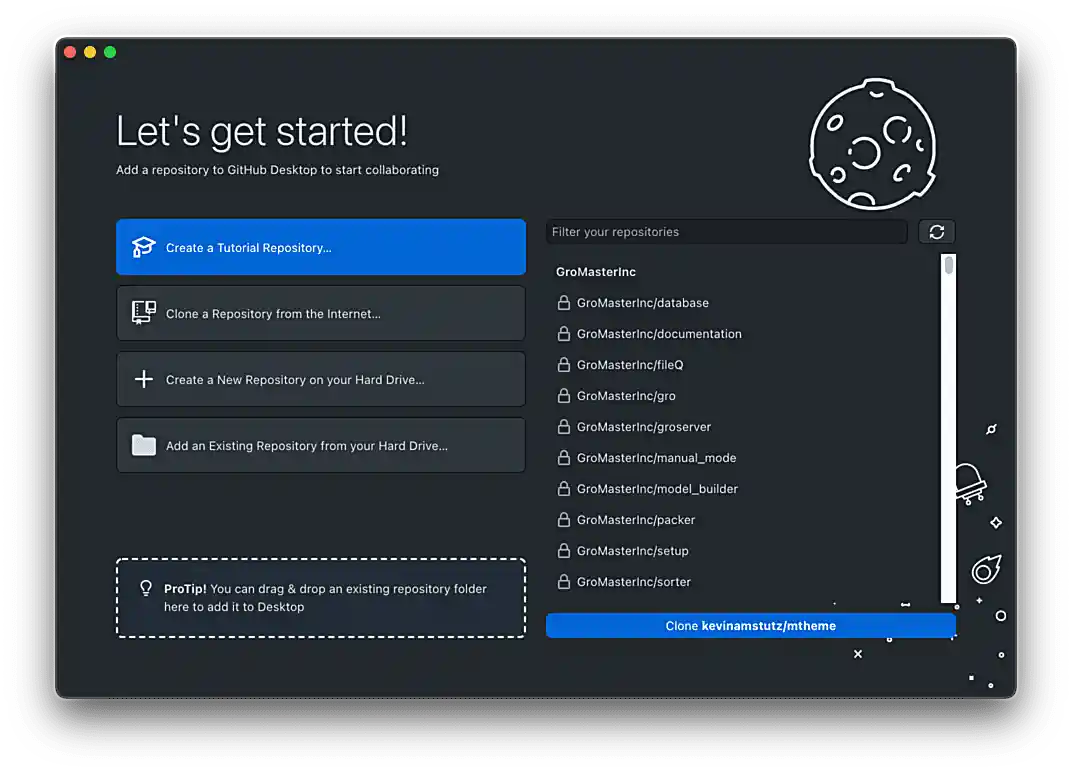 Figure 5. GitHub Desktop getting started page, Dark theme
 -
At this stage, you have a variety of options, and there is no wrong way to proceed. Let’s assume, however, that we are installing GitHub Desktop in hopes of making a contribution to this book (who wouldn’t want to?!).
Click on . In the first field, enter "TheDataMine/the-examples-book", and in the second, choose the path where you’d like the repository to live. In this case,
/Users/kamstut/projects/the-examples-bookwas chosen.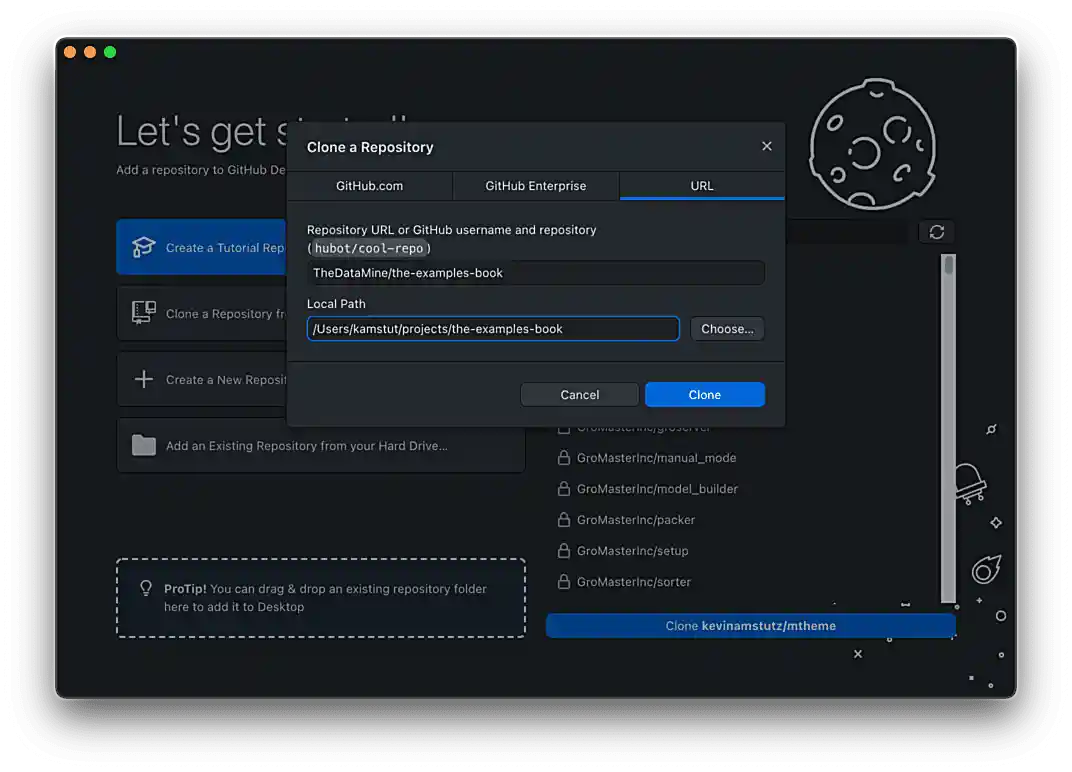 Figure 6. Clone the-examples-book repository
 -
You will be presented with a screen similar to the following. Please note that this may take a minute or two depending on your internet speed.
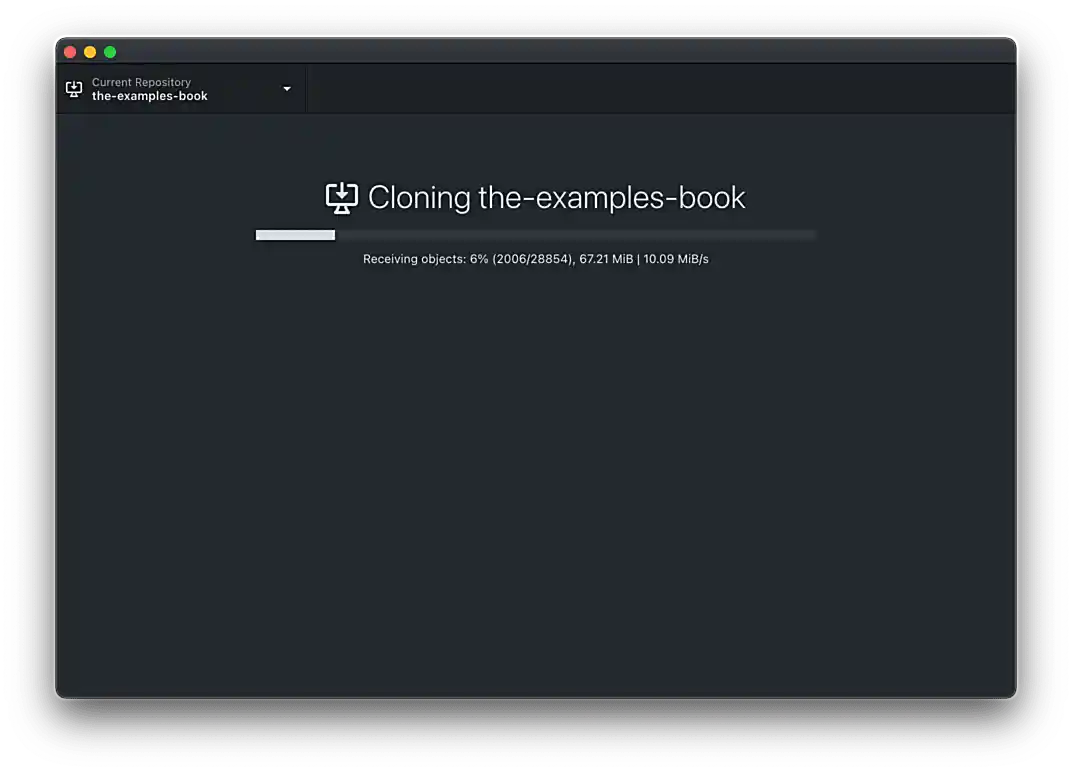 Figure 7. Cloning the-examples-book repository
 -
Finally, you should be presented with the primary interface.
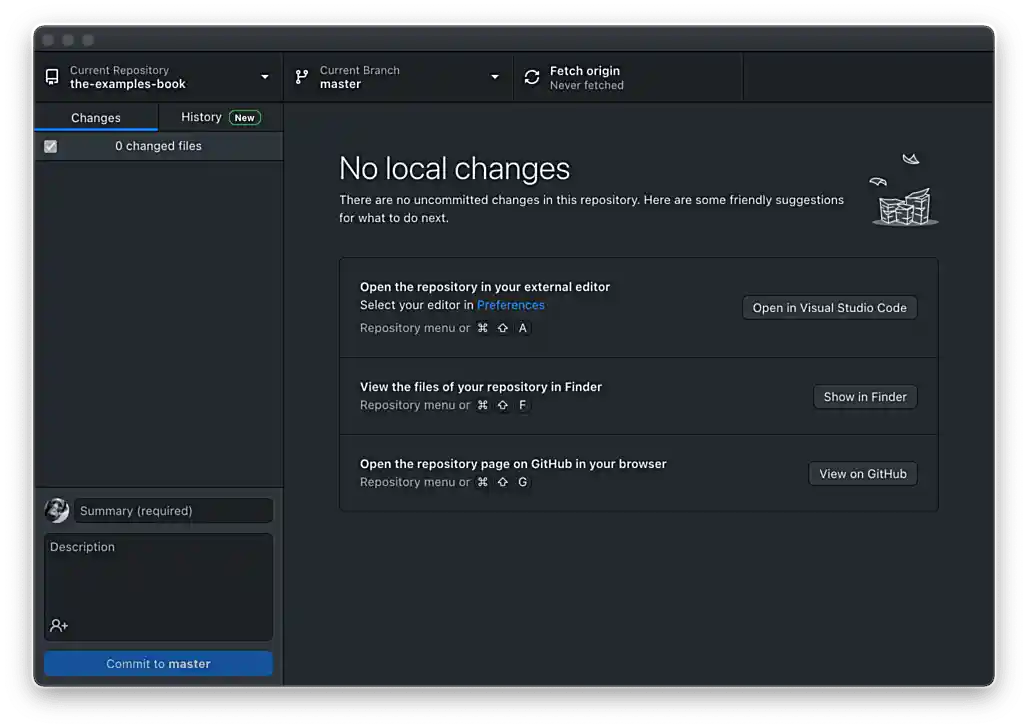 Figure 8. GitHub Desktop interface for the-examples-book repository
 -
There is one final beta setting that you should consider activating. Click on History, and then click on the settings cog near the top middle of your screen. It should look something like this.
 Figure 9. File change view setting
 -
Under Diff display select Split. This will split the file change diff into content removed (on the left) and content added (on the right).
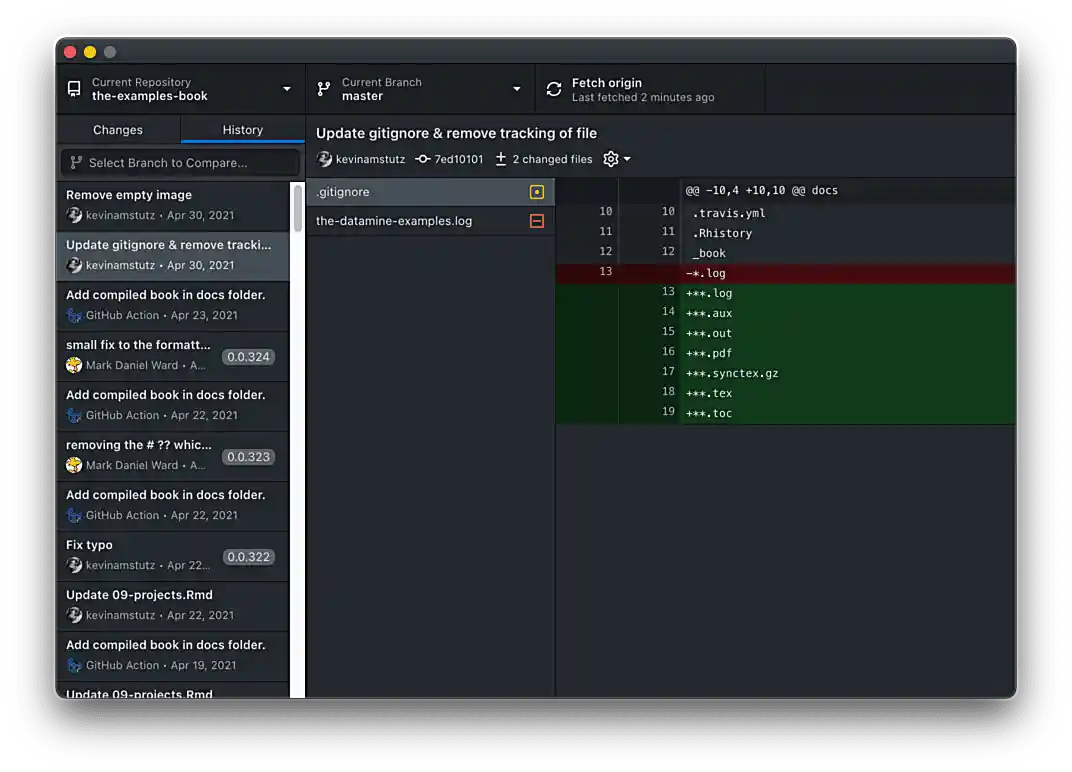 Figure 10. An example of unified diff display
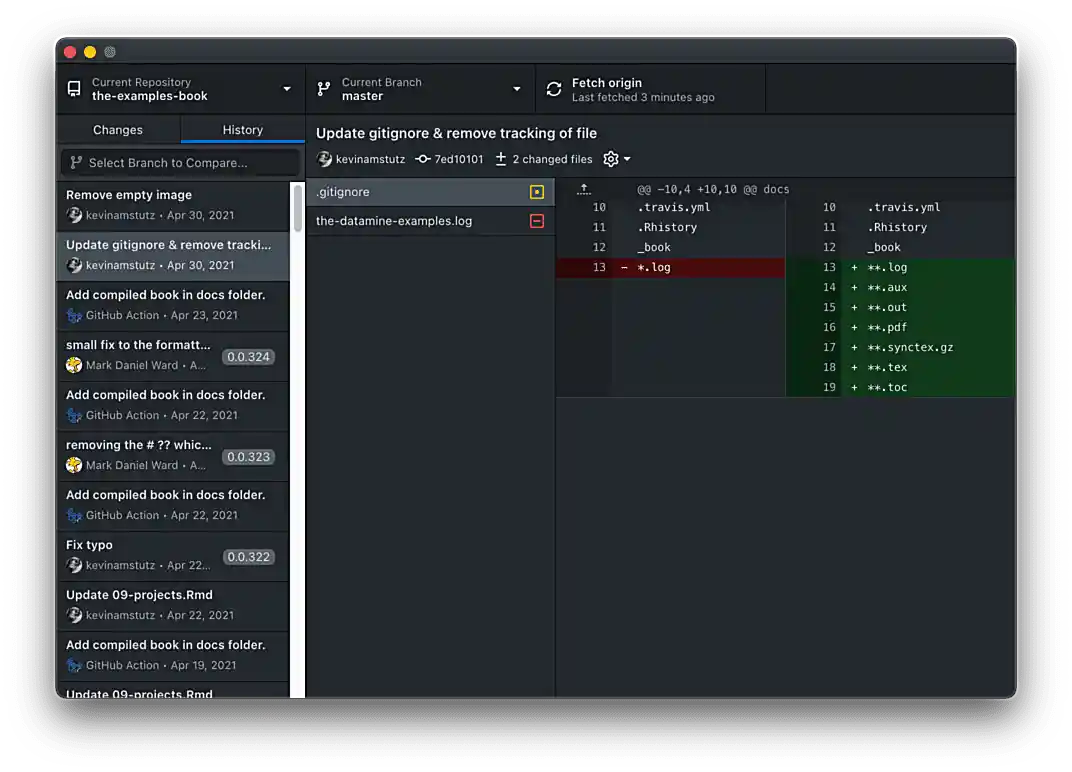 Figure 11. An example of split diff display
 -
Congratulations, you now have GitHub Desktop installed, configured, and ready to use!
Terminology
It is very common to mix git terminology with terminology that is platform-specific. The following are very common terminologies that are important to understand. These are terms that are specific to the platforms (GitHub, GitLab, etc.), and aren’t part of git.
Issue
The GitHub glossary does an excellent job describing what an issue is.
Issues are suggested improvements, tasks or questions related to the repository. Issues can be created by anyone (for public repositories), and are moderated by repository collaborators. Each issue contains its own discussion thread. You can also categorize an issue with labels and assign it to someone.
Issues are an excellent and central way to organize tasks for a project.
Pull Request
A pull request (PR) is a request to merge the changes made to another fork or branch into another branch. Once a PR is made, code can be discussed, formal reviews can be made, and further changes to the PR can be made before accepting the request and merging the code.
| In GitLab, a pull request is called a merge request. |